Easy Miniature Christmas Trees: Free Crochet Pattern
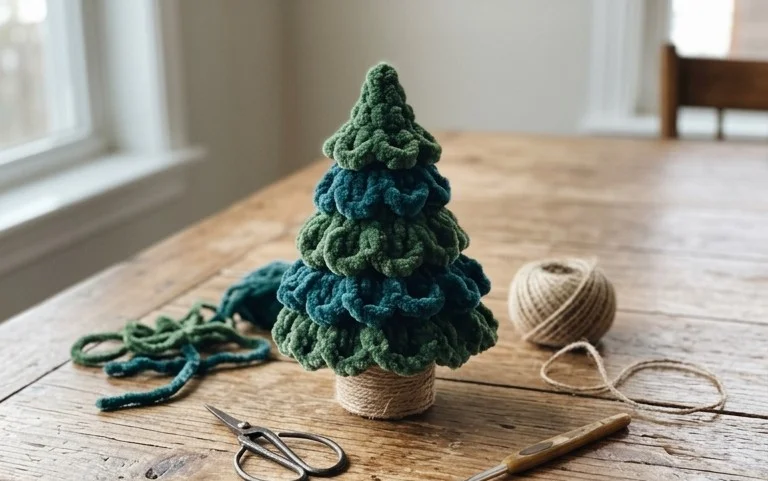
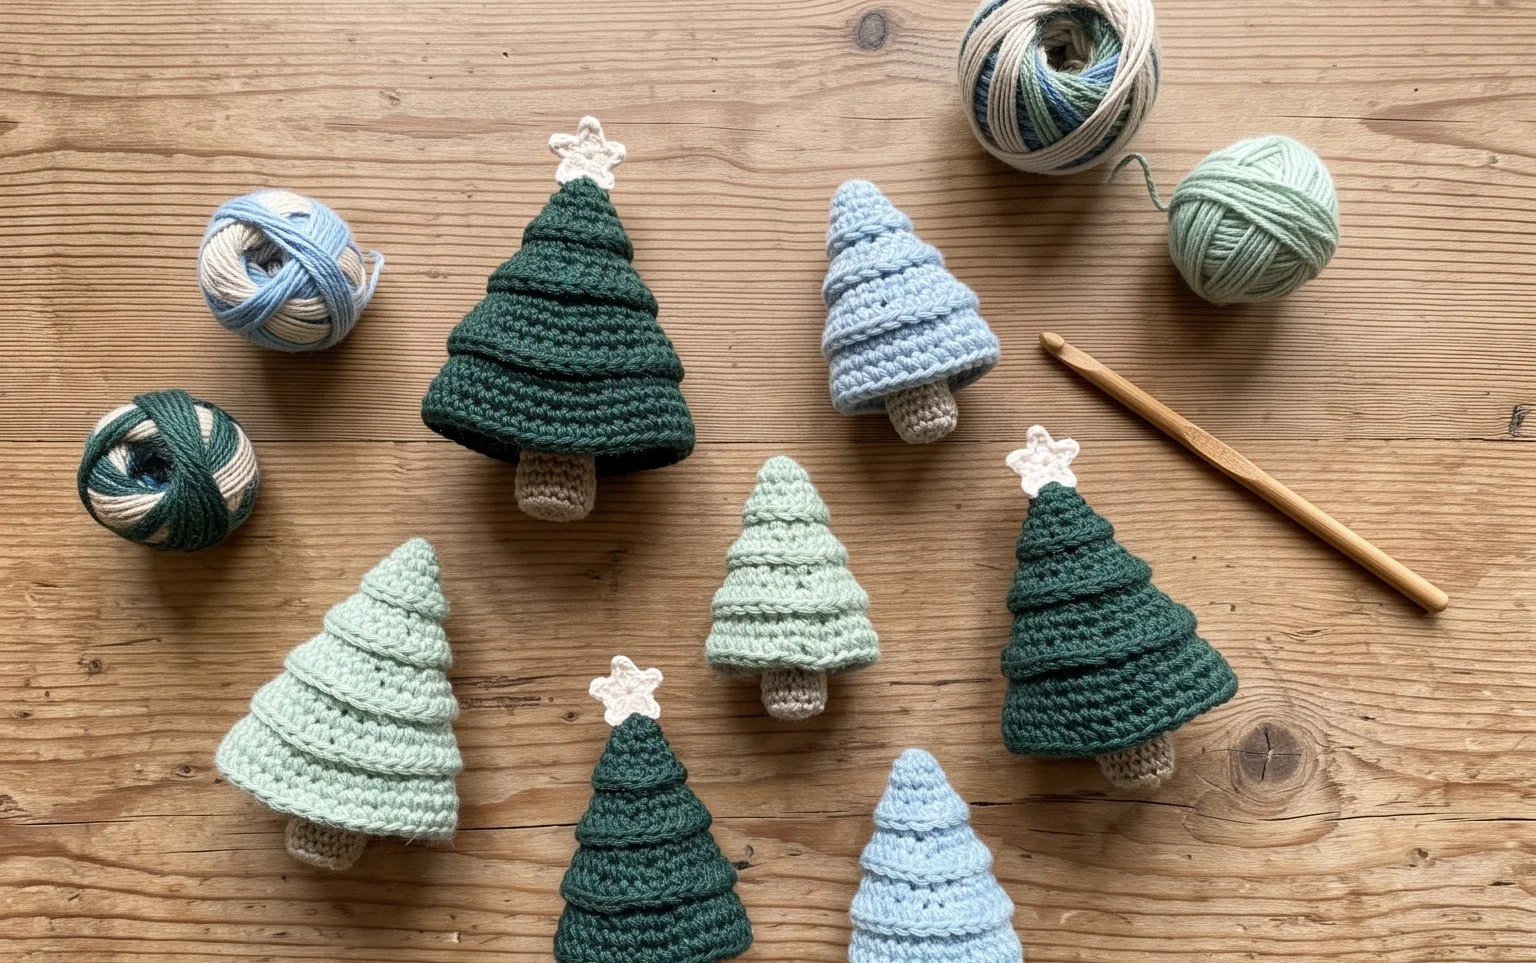
A small, moss-green evergreen sitting on a bookshelf adds an immediate warmth to a room during the winter months. These little cones are dense and firm to the touch, standing tall without tipping over thanks to a tightly packed core of fiberfill. Beginners find success here because the project relies on simple rounds that grow vertically. You will practice managing consistent tension and creating smooth increases to shape the slope of the boughs. It is a satisfying project for anyone who enjoys small, manageable tasks that yield a professional, handcrafted result ready for your holiday display or as a thoughtful gift.
Why Crocheters Love It
This beginner-friendly project works up quickly, making it a reliable choice when you need a handmade gift in a single afternoon. Because it uses less than one skein of standard yarn, it is an ideal way to clear out leftover stash balls that are too small for larger garments. The repetitive nature of the single crochet stitches creates a dense, sturdy fabric that maintains its shape well over time. Once you understand the basic increase and decrease rhythm, you can finish the entire piece without needing to constantly check the pattern.
I managed to finish this project in one sitting while watching a movie. The instructions were easy to follow and the final result looks very professional for such a simple construction.
— Sarah, hobbyist crafter
Pattern Overview & Skill Level
- Skill Level: Beginner
- Approximate Time: 2 to 3 hours
- Construction: Amigurumi-style continuous rounds worked in a spiral
- Finished Dimensions: 4 inches tall by 3 inches wide
Materials & Supplies Needed
- Yarn: Worsted weight (#4) cotton or acrylic blend, approximately 40 yards. Cotton provides better stitch definition for beginners, while acrylic is softer for toys.
- Hook Size: 4.0 mm (US G-6) hook. This size creates a tight tension necessary to keep the fiberfill stuffing from showing through the stitches.
- Notions: Tapestry needle with a large eye, stitch marker to track the start of rounds, and polyester fiberfill for stuffing.
- Safe Yarn Substitutions: You can use a DK weight yarn with a 3.5 mm hook if you want a smaller, tighter finished item, though you will need to adjust your stuffing density accordingly. Avoid bulky or super bulky yarns as they make the piece difficult to shape.
Stitch Guide & Abbreviations (US Terms)
- MR: Magic Ring. A method of starting rounds by working into an adjustable loop.
- ch: Chain.
- sc: Single crochet. Insert hook, yarn over, pull up a loop, yarn over, pull through both loops.
- inc: Increase. Work 2 sc into the same stitch to add one stitch to the total count.
- dec: Decrease. Invisible decrease is preferred; insert hook into the front loop of the next two stitches, yarn over, pull through both front loops, yarn over, pull through remaining two loops.
- st(s): Stitch(es).
- sl st: Slip stitch.
Step-by-Step Pattern Instructions
Main Body
- Rnd 1: Start 6 sc in a MR. (6 sts)
- Rnd 2: Work 2 sc in each st around. (12 sts)
- Rnd 3: [1 sc, inc] repeat 6 times. (18 sts)
- Rnd 4: [2 sc, inc] repeat 6 times. (24 sts)
- Rnds 5-9: Sc in each st around. (24 sts)
- Rnd 10: [2 sc, dec] repeat 6 times. (18 sts)
- Rnd 11: [1 sc, dec] repeat 6 times. (12 sts)
- Rnd 12: Dec 6 times. (6 sts)
Finishing
Cut the yarn leaving a 6-inch tail. Use your tapestry needle to weave the tail through the front loops of the remaining 6 stitches and pull tight to close the opening securely. Knot the yarn and hide the end inside the body using the needle.
Care & Washing Instructions
- Hand wash in cool water using a mild detergent to prevent the stuffing from clumping.
- Do not wring the piece; instead, gently squeeze out excess water with a clean towel.
- Lay flat on a mesh drying rack or dry towel to air dry, reshaping the piece with your hands while it is damp.
Pro Tips & Common Mistakes to Avoid
- Maintain consistent tension throughout the project. If your stitches are too loose, the fiberfill will poke out through the gaps. If you struggle with this, try dropping down a hook size.
- Always place a stitch marker in the first stitch of every round. Because this is worked in a continuous spiral, it is easy to lose your place if you do not mark the start of each round.
- Weave in your yarn ends by running the needle through the interior of the piece rather than just the surface. This ensures the ends stay tucked away and do not unravel during handling.
- Adjusting the size by adding more increase rounds will require significantly more yarn and will change the proportions of the piece. If you increase the diameter, remember to add extra rounds of plain single crochet in the middle to maintain the desired height.
Frequently Asked Questions
Can I use a different weight of yarn for this project?
Yes, but you must match the hook size to the yarn weight to ensure a dense fabric. If you use a thicker yarn, the piece will be larger, and if you use thinner yarn, it will be smaller.
Is this project suitable for absolute beginners?
Yes, this is an excellent first project because it relies on the most basic stitch in crochet and teaches you how to work in the round.
How do I keep the fiberfill from showing through the stitches?
Use a hook size that is slightly smaller than what is recommended on your yarn label. This creates tight, smaller stitches that hold the stuffing securely inside.
Am I allowed to sell items made from this pattern?
Yes, you are welcome to sell finished items created with this design. Please credit the original pattern designer when posting your listings online.
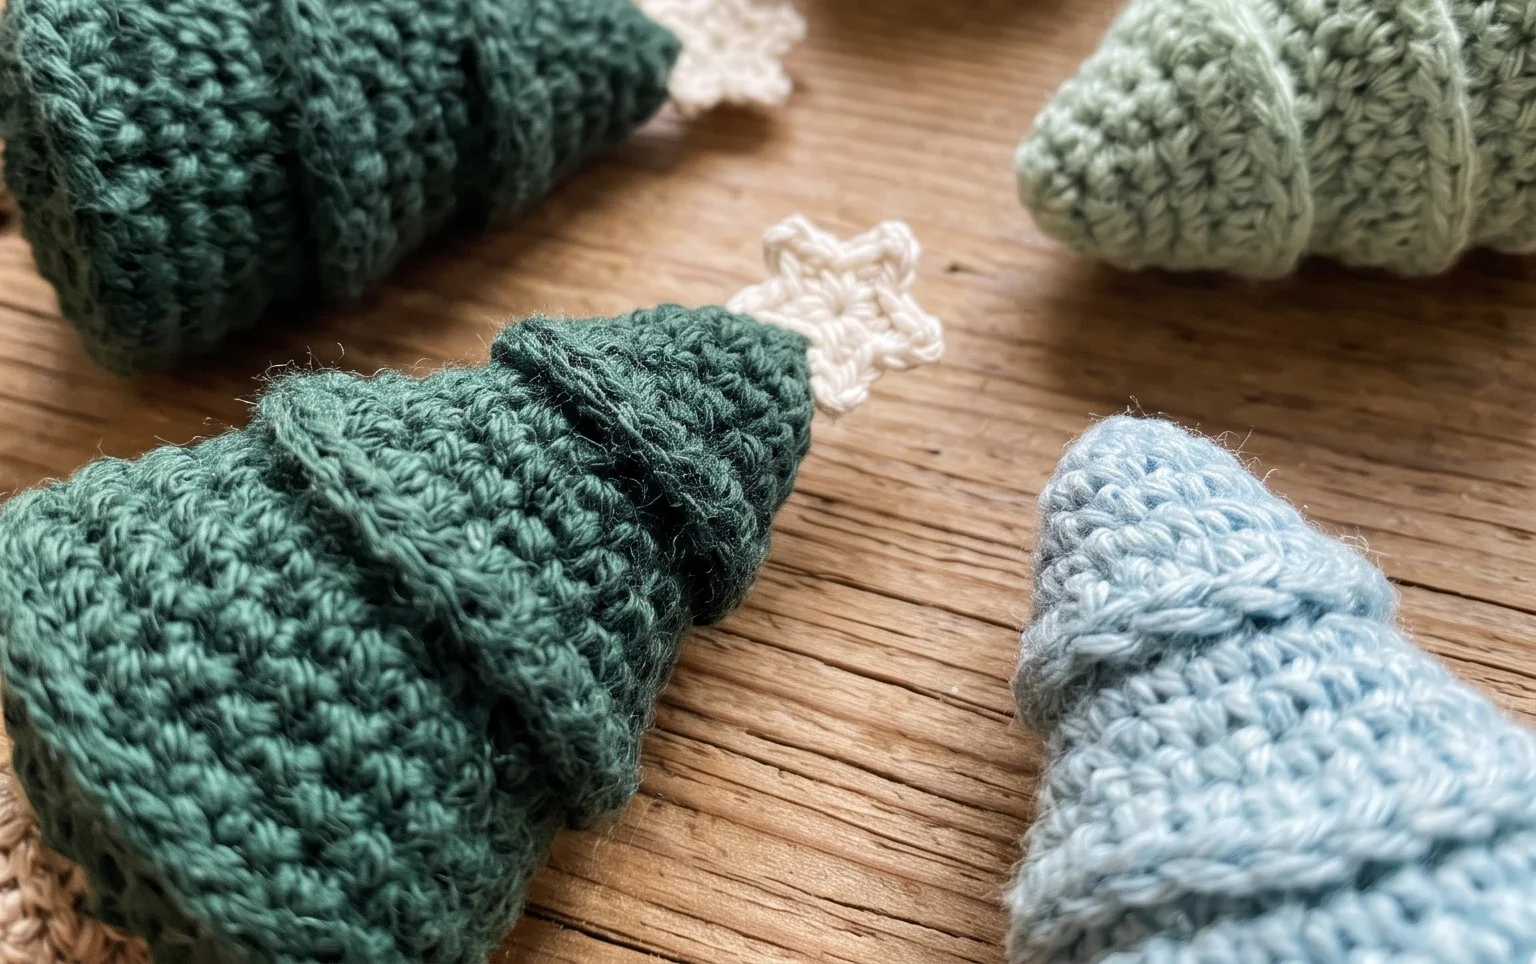
Your finished decoration captures the holiday spirit in a compact form that fits perfectly on a crowded mantle or a festive desk setup. If you want to experiment, try using a metallic silver yarn or adding tiny beads to mimic ornaments on the branches. Seeing how others interpret this project is the best part of the process, so please post a photo of your work on your favorite social feed. You can find more free patterns in our archive to keep your crochet hooks busy all season long.