How to Change Yarn Color in Crochet: Easy Step-by-Step
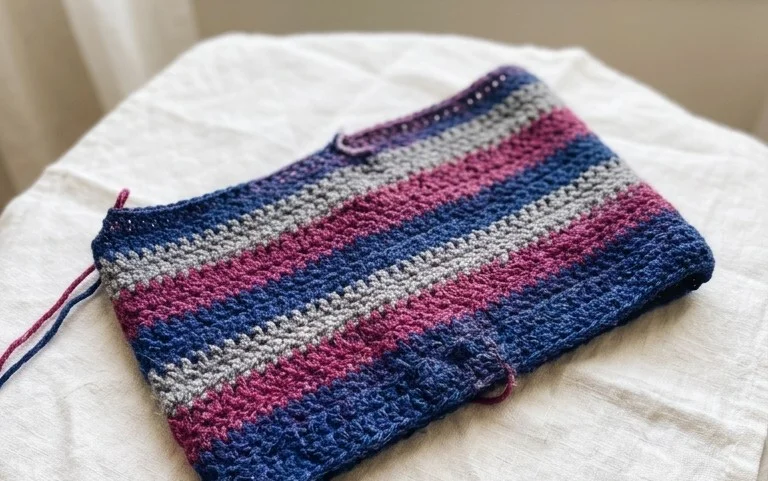
Crisp, distinct stripes define this handmade square, turning simple acrylic yarn into a bold statement of texture and geometry. This project suits beginners who want to master clean color transitions without creating bulky, messy knots that distract from the stitch pattern. Whether you are building a full-sized blanket for your living room couch or crafting small, thoughtful gifts for neighbors, this technique creates a polished look that stays secure through years of washing and wear. You will learn the exact movement needed to join your new strand mid-row, ensuring your edges stay straight and your tension remains consistent throughout the entire process.
Why Crocheters Love It
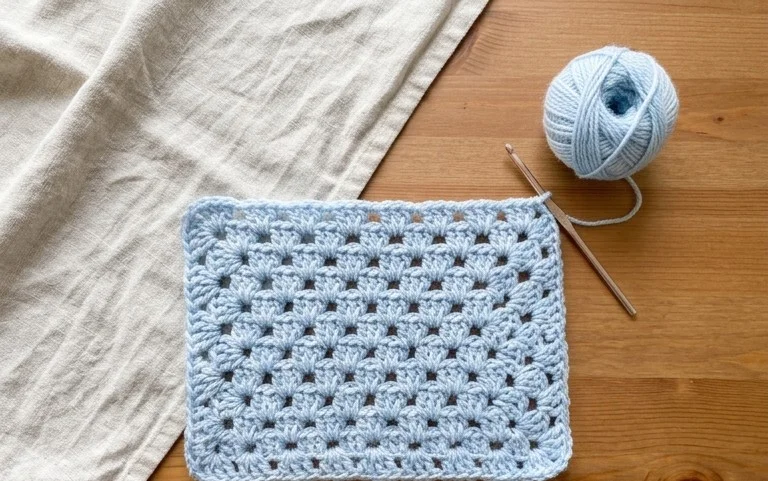
The Classic Crochet Granny Square is the fundamental building block of crochet, relying on simple cluster stitches to create a balanced, geometric motif. This project is ideal for developing consistent tension because the repeat is short and rhythmic. You can complete a single square in under twenty minutes, making it a portable project for waiting rooms or travel. Because it uses small amounts of yarn, it is the most efficient way to use up leftover ends from larger projects. Many makers find that the repetitive nature of the double crochet clusters provides a calming, meditative flow that is perfect for winding down after a busy day.
I struggled with keeping my edges straight until I tried this classic pattern. The instructions are so clear that I finished my first stash-busting blanket in just a few weeks.
— Sarah, hobbyist crafter
Pattern Overview & Skill Level
- Skill Level: Beginner
- Approximate Time: 15-20 minutes per square
- Construction: Worked in joined rounds, starting from the center and expanding outward
- Finished Dimensions: 5 inches by 5 inches when using recommended yarn and hook
Materials & Supplies Needed
- Yarn: Worsted weight (#4), 100% acrylic or wool blend, approximately 15 yards per square.
- Hook Size: 5.0 mm (H-8).
- Notions: Tapestry needle for weaving in ends, scissors.
- Yarn Substitutions: You can use DK weight yarn for a smaller, tighter square, though you will need to increase the hook size or add more rounds to reach the same dimensions. Cotton yarn provides more stitch definition but lacks the stretch of wool.
Stitch Guide & Abbreviations (US Terms)
- ch = chain
- sl st = slip stitch
- dc = double crochet
- st = stitch
- sp = space
- Cluster = 3 dc worked into the same chain space
- Magic Ring: A technique to start rounds by crocheting over an adjustable loop.
Step-by-Step Pattern Instructions
This pattern is worked in rounds. Each round is joined with a slip stitch to the top of the first stitch of that round.
Rnd 1: Start with a magic ring. Ch 3 (counts as first dc), 2 dc in ring, ch 2, *3 dc in ring, ch 2; repeat from * twice more. Sl st to top of beg ch-3 to join. (12 dc, 4 ch-2 spaces)
Rnd 2: Sl st into the next 2 dc and into the corner ch-2 sp. Ch 3, 2 dc in same sp, ch 2, 3 dc in same sp. *Ch 1, skip 3 dc, (3 dc, ch 2, 3 dc) in next ch-2 sp; repeat from * twice more. Ch 1, sl st to top of beg ch-3. (24 dc, 4 ch-2 spaces, 4 ch-1 spaces)
Rnd 3: Sl st into next 2 dc and into the corner ch-2 sp. Ch 3, 2 dc in same sp, ch 2, 3 dc in same sp. *Ch 1, 3 dc in next ch-1 sp, ch 1, (3 dc, ch 2, 3 dc) in corner ch-2 sp; repeat from * twice more. Ch 1, 3 dc in next ch-1 sp, ch 1, sl st to top of beg ch-3. (36 dc, 4 ch-2 spaces, 8 ch-1 spaces)
Rnd 4: Sl st into next 2 dc and into the corner ch-2 sp. Ch 3, 2 dc in same sp, ch 2, 3 dc in same sp. *Ch 1, (3 dc in next ch-1 sp, ch 1) across to next corner, (3 dc, ch 2, 3 dc) in corner ch-2 sp; repeat from * around. Sl st to top of beg ch-3 and fasten off. (48 dc, 4 ch-2 spaces, 12 ch-1 spaces)
Care & Washing Instructions
- Hand wash or machine wash on a delicate cycle in cool water (max 30°C).
- Lay the square flat on a towel to air dry, avoiding direct heat sources.
- Lightly steam block to square off the edges and ensure all corners are even.
Pro Tips & Common Mistakes to Avoid
To maintain even tension, hold your yarn with consistent pressure throughout every round. Using a stitch marker in the first stitch of every round helps identify where to join, preventing the common mistake of adding or skipping stitches at the end of the round. When weaving in your ends, run the needle through the back loops of the double crochet stitches in multiple directions to ensure the yarn remains secure after washing. If you choose to increase the size of the square by adding more rounds, remember that each additional round will require significantly more yarn than the previous one.
Frequently Asked Questions
Can I use a different weight of yarn for this pattern?
Yes, you can use any yarn weight, but be aware that changing the weight will change the final size of the square. Always adjust your hook size to match the recommended tension for the specific yarn you choose.
Is this pattern suitable for someone who has never held a crochet hook?
This pattern is a classic project for beginners. It introduces fundamental skills like chaining, double crochet, and working into spaces, which are the building blocks for many other crochet techniques.
Can I sell the squares I make using this pattern?
As the designer, I allow for the sale of finished items created from this pattern. Please provide credit to the pattern designer in your product listings.
Why are my corners curling inward?
Curling usually happens if your tension is too tight, specifically in the corner chain-2 spaces. Try using a slightly larger hook or consciously loosening your chains to allow the square to lay perfectly flat.
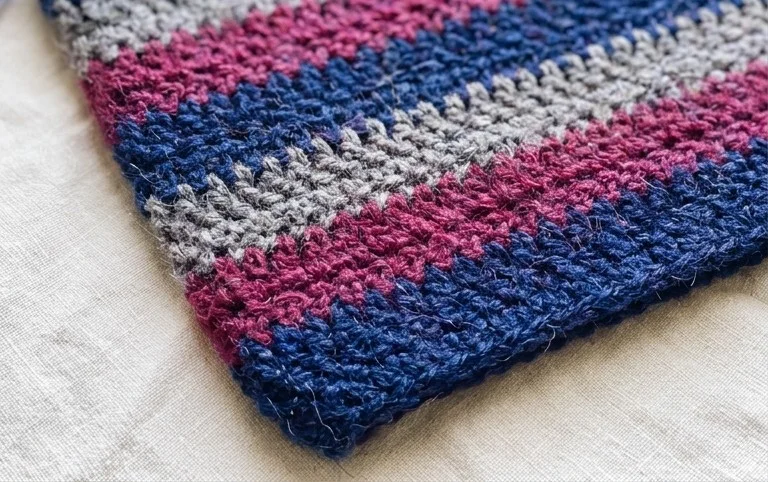
Seeing your finished square with its crisp, clean color transition is satisfying after working through those rounds. You could easily swap the worsted weight wool for a variegated cotton to create a completely different visual texture, or add two extra rounds if you need a larger coaster for your favorite mug. Please share a photo of your work on Instagram to show off your progress. You can find more free patterns and stitch tutorials available in the full archive on my blog for your next afternoon project.