10 Easy Christmas Crochet Patterns: Free Step-by-Step
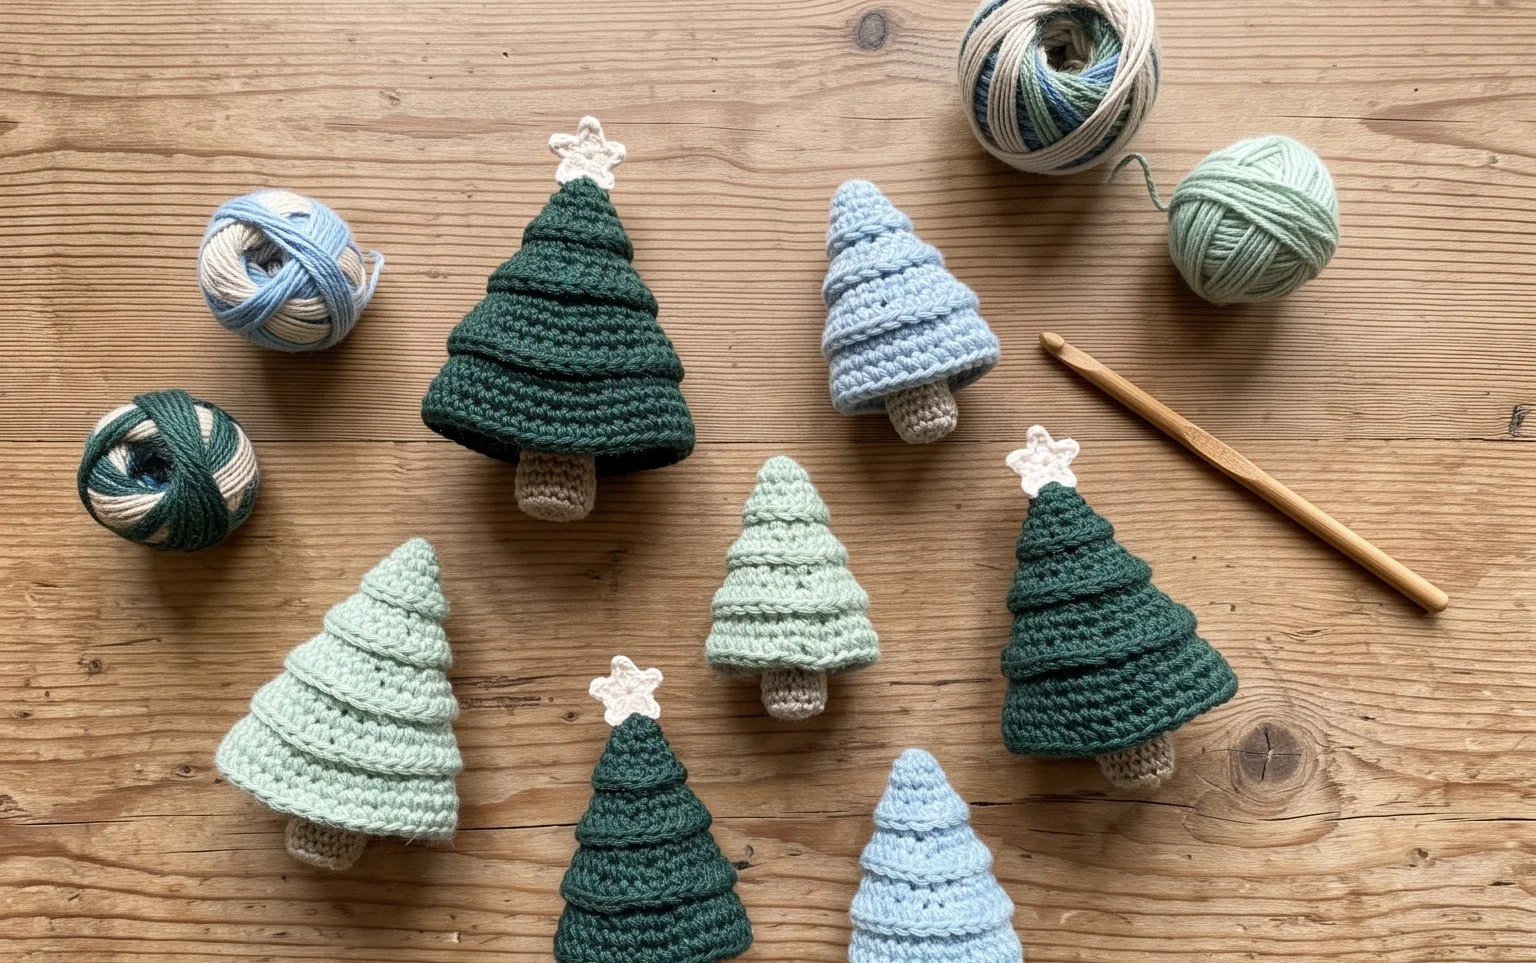
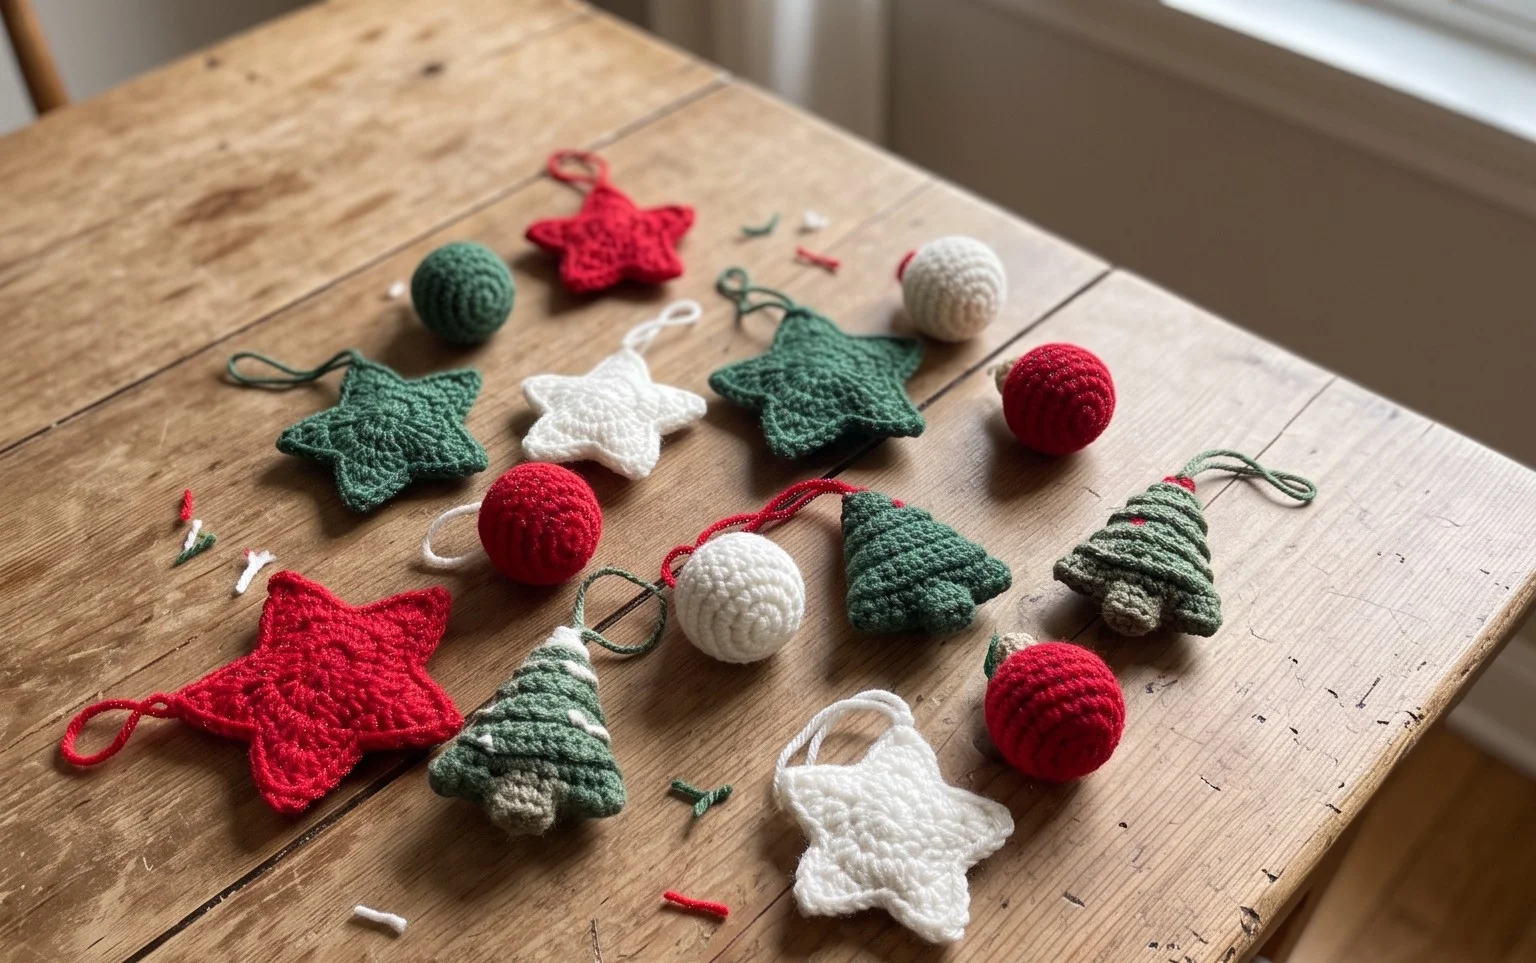
Small handmade ornaments bring a sense of warmth to any room, especially when they sit nestled among the pine needles on your tree. These compact decorations feel substantial in your hand, offering a dense texture that highlights every individual stitch. Whether you are a beginner looking to practice shaping or an experienced maker needing a quick gift, these projects suit anyone with a few hours and some leftover cotton yarn. You will learn the basics of continuous rounds and simple increases, building a solid foundation for more complex shapes later while enjoying the meditative rhythm of repetitive loops.
Why Crocheters Love It
This beginner-friendly project works up in a single evening, making it the ideal choice for using up small amounts of leftover yarn. The repetitive stitch pattern creates a dense, durable fabric that holds its shape perfectly without requiring complex structural support. Because the construction relies on basic shaping, you can focus on mastering your tension while creating a polished, professional-looking item. It is a rewarding project for those new to the craft as well as experienced makers looking for a meditative, low-stress session.
I managed to finish this pattern over a single weekend using my yarn scraps, and the final shape is sturdy enough to hold its own weight without flopping over.
— Sarah, hobbyist crocheter
Pattern Overview & Skill Level
- Skill Level: Beginner
- Approximate Time: 2 to 3 hours
- Construction: Amigurumi-style continuous rounds, starting from a magic ring and ending with a flat base.
- Finished Dimensions: 4 inches tall by 3 inches wide.
Materials & Supplies Needed
- Yarn: Worsted weight (#4), 100% cotton yarn, approximately 40 yards total. Cotton is preferred for its lack of stretch and clear stitch definition.
- Hook Size: 4.0 mm (US G-6).
- Notions: Tapestry needle for weaving in ends, a locking stitch marker to track the start of rounds, and fiberfill stuffing.
- Yarn Substitutions: Acrylic worsted weight yarn can be substituted for a softer feel, though the finished item will be slightly larger and more flexible. If using a thinner sport weight yarn, go down to a 3.25 mm hook to maintain the tight gauge necessary for amigurumi.
Stitch Guide & Abbreviations (US Terms)
- MR: Magic ring.
- ch: Chain.
- sc: Single crochet.
- inc: Increase (work 2 sc in the same stitch).
- dec: Decrease (work 2 sc together using the front loops only to minimize gaps).
- sl st: Slip stitch.
- st(s): Stitch(es).
- BLO: Back loop only.
Step-by-Step Pattern Instructions
Main Body
- Rnd 1: Work 6 sc into a MR. (6 sts)
- Rnd 2: Inc in each st around. (12 sts)
- Rnd 3: (1 sc, inc) repeat 6 times. (18 sts)
- Rnd 4: (2 sc, inc) repeat 6 times. (24 sts)
- Rnd 5: (3 sc, inc) repeat 6 times. (30 sts)
- Rnd 6: Working in BLO, sc in each st around. (30 sts)
- Rnds 7-12: Sc in each st around. (30 sts)
- Rnd 13: (3 sc, dec) repeat 6 times. (24 sts)
- Rnd 14: (2 sc, dec) repeat 6 times. (18 sts)
Finishing and Assembly
Begin adding fiberfill stuffing once you reach the end of Round 14. Ensure the base is filled firmly so the item stands upright. Continue the final decreases as written below.
- Rnd 15: (1 sc, dec) repeat 6 times. (12 sts)
- Rnd 16: Dec 6 times. (6 sts)
Cut the yarn leaving a 6-inch tail. Use the tapestry needle to weave the tail through the front loops of the remaining 6 stitches and pull tight to close the opening. Weave the remaining tail into the center of the body to secure it.
Care & Washing Instructions
- Hand wash in cold water using a gentle detergent to maintain the shape and fiber integrity.
- Lay the piece flat on a clean towel to air dry, reshaping it gently with your hands while damp.
- Avoid machine drying or bleaching, as heat can cause the cotton fibers to shrink or the stuffing to bunch unevenly.
Pro Tips & Common Mistakes to Avoid
Maintain tight tension throughout the project to ensure the stuffing does not show through the gaps between stitches. Always place a stitch marker in the first stitch of every round; since this is worked in a continuous spiral, losing your place makes it difficult to track the decrease rounds correctly. Weave your ends into the interior of the piece rather than the outside to keep the surface smooth and professional. If you want to change the size, adjust the number of stitches in your initial magic ring—increasing the base stitches will create a wider vessel, but you must ensure your total increase rounds match that base number to keep the circle flat.
Frequently Asked Questions
Can I use a different hook size?
Using a hook larger than 4.0 mm will result in larger gaps where the stuffing may peek through. It is recommended to use the smallest hook your yarn allows to keep the stitches dense.
Is this pattern suitable for complete beginners?
Yes, the pattern only uses single crochet and basic increases and decreases. It is an excellent way to practice working in continuous rounds without the complexity of color changes.
How do I prevent the piece from leaning?
Leaning usually occurs when working in a spiral rather than joining rounds. Ensure you are not accidentally skipping stitches or adding extra ones, and count your stitches at the end of every round to keep the count consistent.
Can I sell the finished items?
You are welcome to sell items made from this pattern, provided you credit the design. Always check the specific terms provided by the designer regarding mass production versus individual craft sales.
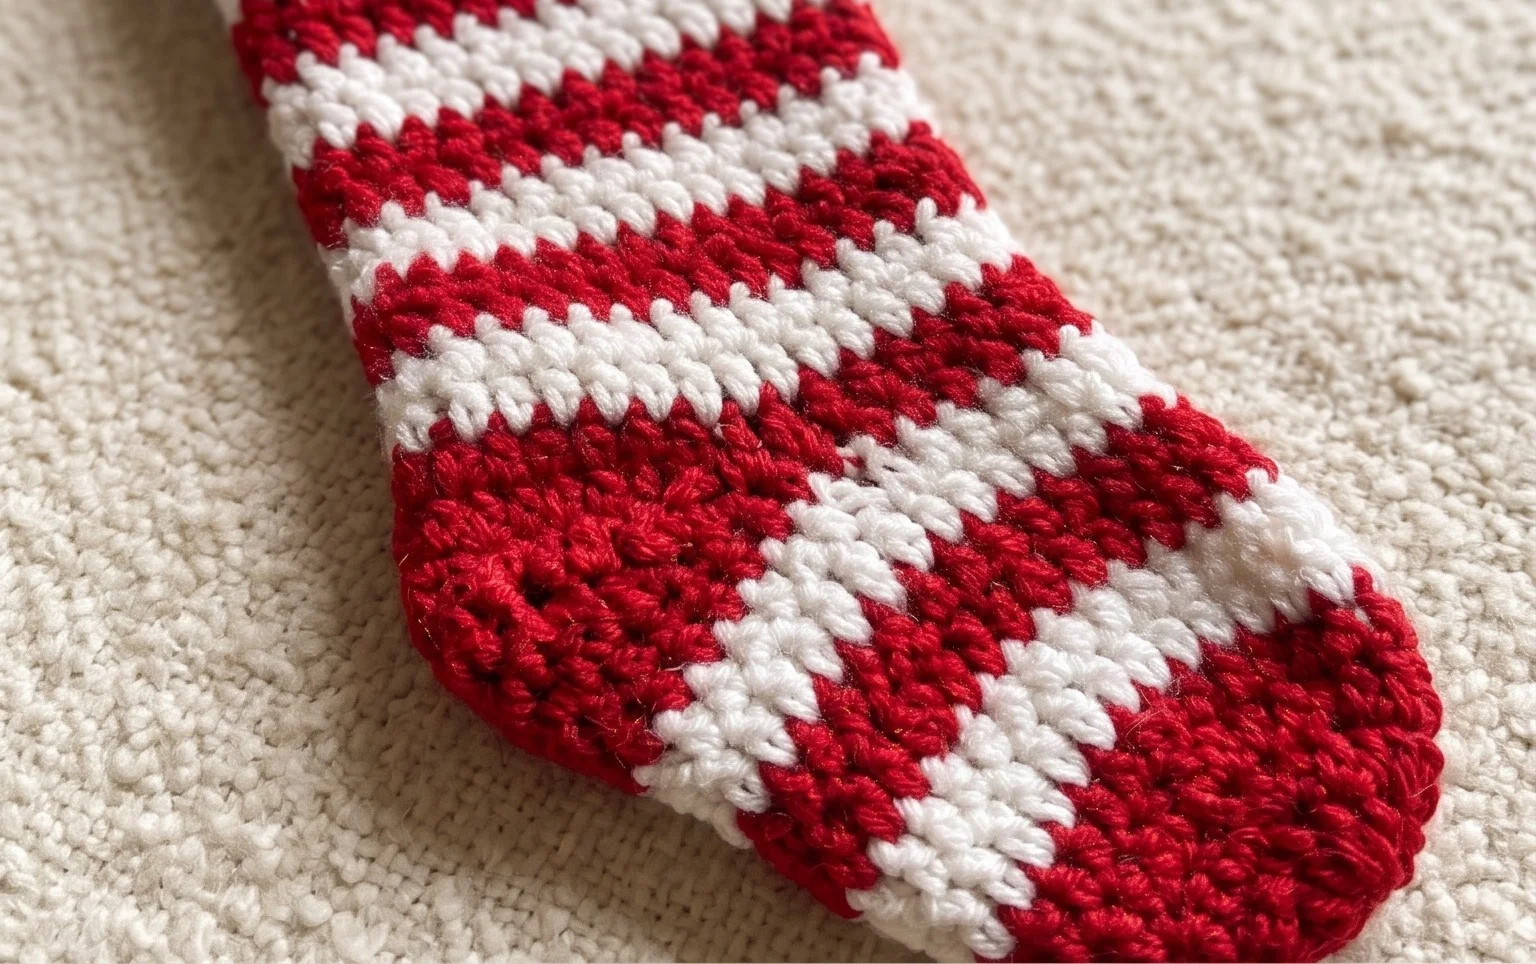
Your finished ornament serves as a charming addition to your holiday display, bringing a handmade touch to the season. You might experiment with variegated yarn for a colorful look or adjust the hook size to craft a larger version for your mantel. Share a photo of your creation with the community to inspire others who are working through their own yarn stash. Browse the rest of our blog archives to find more winter-themed designs for your next afternoon session with a hook and thread.