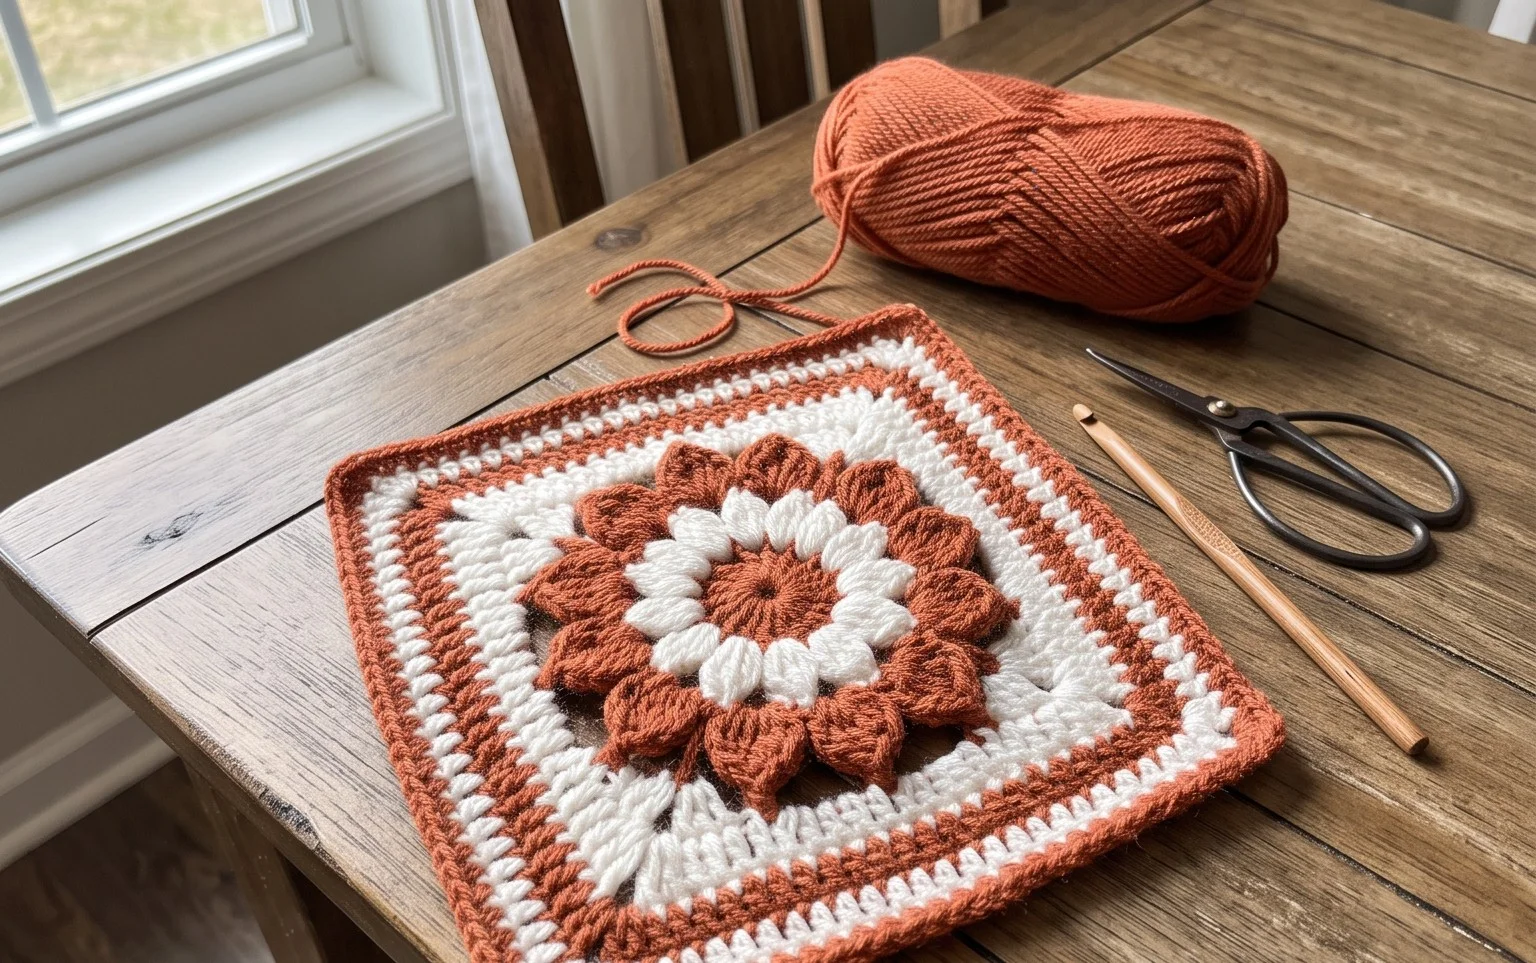
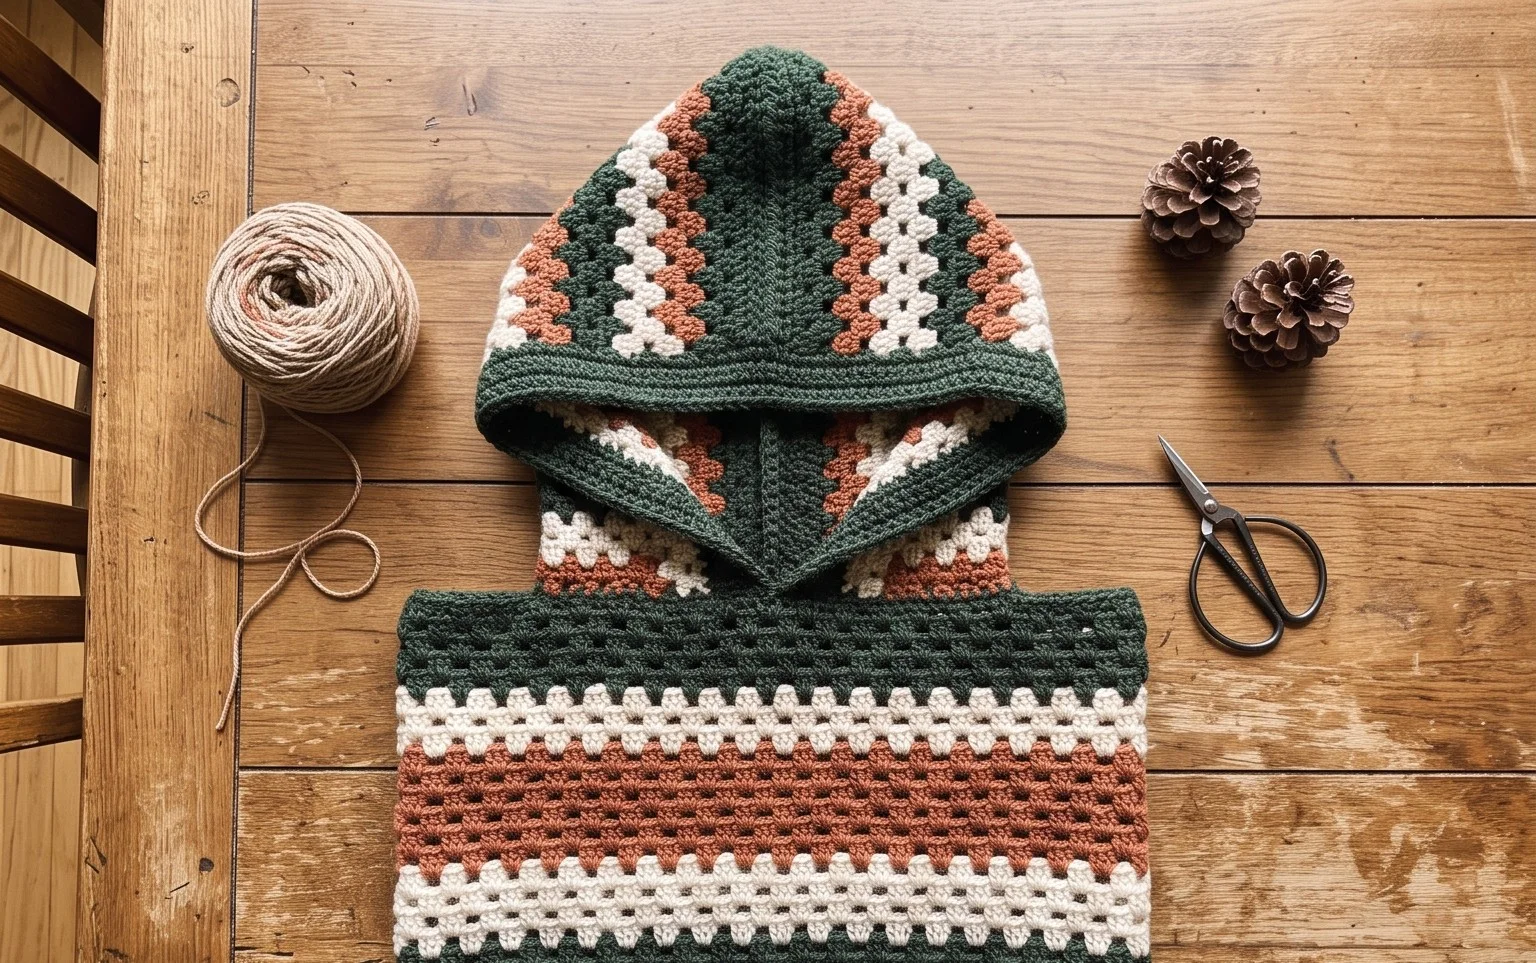
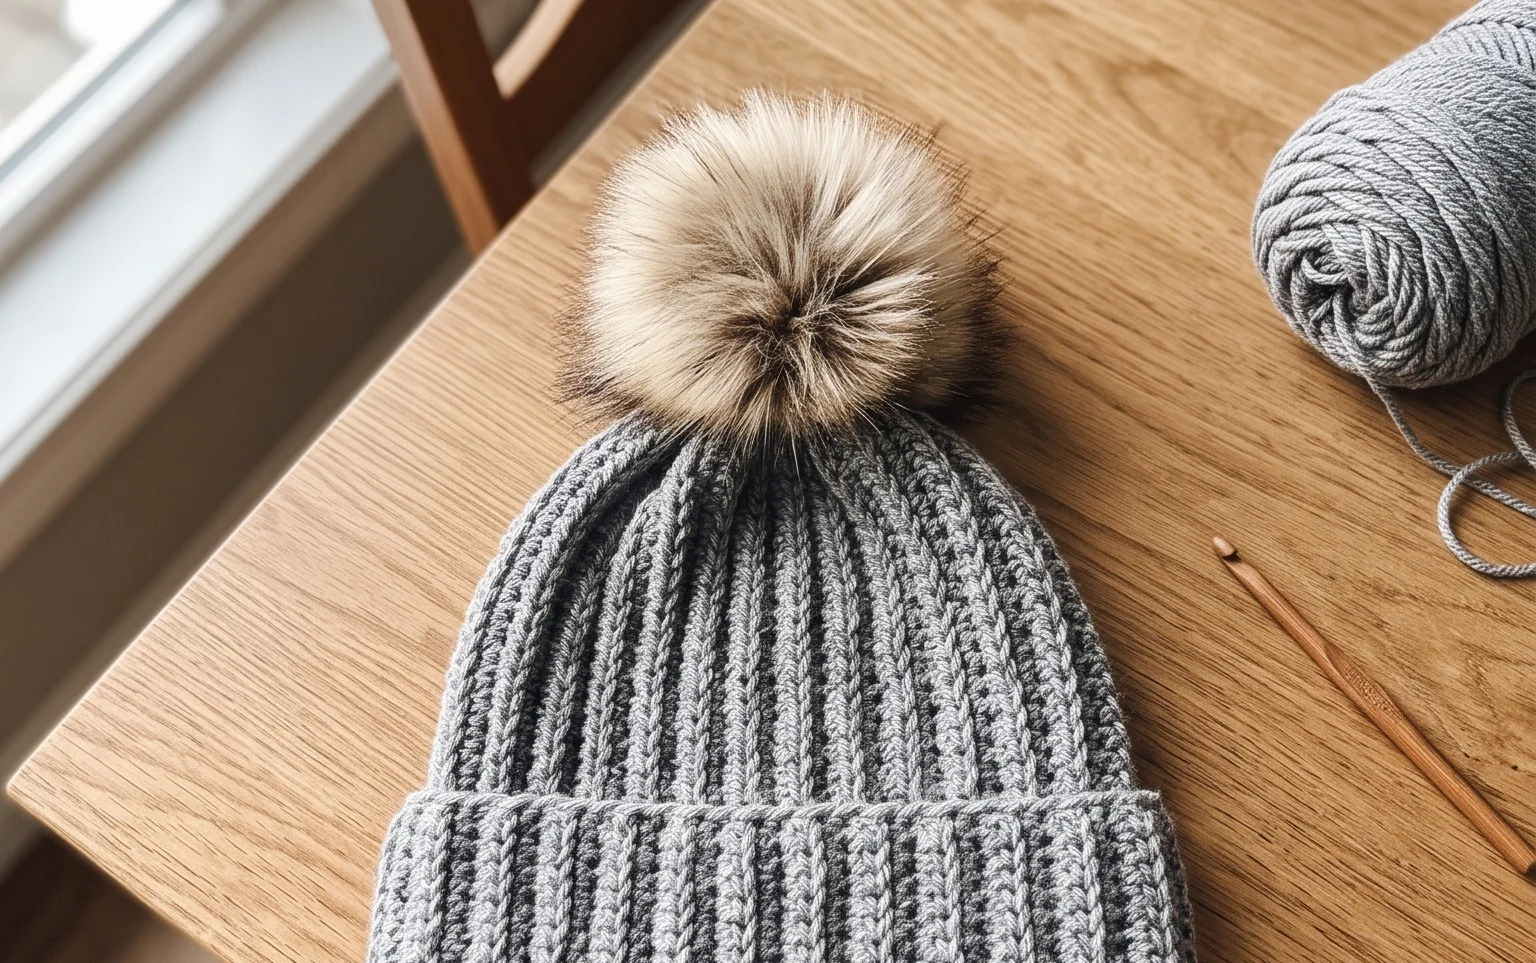
How to Crochet Granny Square Designs: Step-by-Step Guide
Soft cotton yarn loops create a cozy, weighted feel that warms your lap before you even finish the first cluster. These squares provide a gentle rhythm for your hands, turning spare afternoon minutes into something tactile and useful for your home. Beginners find these motifs build confidence quickly because they rely on simple stitches that repeat until you have a stack ready to join. You will learn to manage your tension and transition between colors smoothly to avoid bulky knots. Working through these variations gives you a modular skill set to build blankets, cushions, or seasonal accessories entirely from your own stash.
Why You’ll Love This Pattern
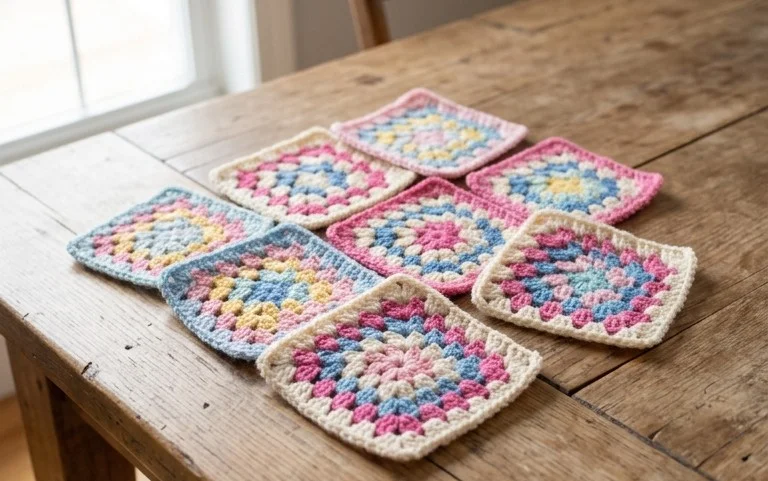
The Classic Crochet Granny Square is the foundation of countless heirloom projects, from blankets to structural bags. You will appreciate how quickly each motif works up, making it a portable project you can tuck into a project bag for on-the-go crafting. Because this pattern relies on basic stitches and repetitive clusters, it is ideal for practicing consistent tension without requiring complex counting or shaping. Using up your yarn leftovers is simple here, as you can change colors every round to create a unique, scrap-busting aesthetic.
I finally learned how to keep my corners square using this exact method, and now I have a whole stack of them ready for a blanket. The instructions were easy to follow and my edges look professional.
— Sarah, hobbyist crafter
Pattern Overview & Skill Level
- Skill Level: Beginner
- Approximate Time: 30-45 minutes per square
- Construction: Worked in joined rounds, starting from the center and moving outward
- Finished Dimensions: Approximately 6 inches by 6 inches using medium weight yarn
Materials & Supplies Needed
- Yarn: Worsted weight (#4), 100% acrylic or wool blend, approximately 20 yards per square.
- Hook Size: 5.0 mm (H-8).
- Notions: Tapestry needle for weaving in ends, scissors, and optional locking stitch markers for corner identification.
- Safe yarn substitutions: You may use DK weight (#3) yarn with a 4.0 mm hook for a smaller, tighter square, or bulky weight (#5) with a 6.0 mm hook for a larger, quicker square.
Stitch Guide & Abbreviations (US Terms)
- ch = chain
- st/sts = stitch/stitches
- sl st = slip stitch
- dc = double crochet
- dc cluster = 3 double crochet stitches worked into the same space
- sp = space (the gap created by ch stitches)
Step-by-Step Pattern Instructions
The classic granny square is constructed by working sets of double crochet clusters into the spaces created by the previous round. Always join with a sl st to the top of the beginning chain.
Granny Square Rounds
- Rnd 1: Start with a magic ring or ch 4 and sl st to the first ch to form a loop. Ch 3 (counts as first dc), work 2 dc into the loop, ch 2, *3 dc into the loop, ch 2; repeat from * twice more. Sl st to the top of the beginning ch-3 to join. (12 sts, 4 corner spaces)
- Rnd 2: Sl st into the next dc and into the first corner sp. Ch 3, 2 dc, ch 2, 3 dc in same sp. *Ch 1, (3 dc, ch 2, 3 dc) in the next corner sp; repeat from * twice more. Ch 1, sl st to the top of the beginning ch-3. (24 sts, 4 corner spaces)
- Rnd 3: Sl st into the next dc and into the corner sp. Ch 3, 2 dc, ch 2, 3 dc in same sp. *Ch 1, 3 dc in the side ch-1 sp, ch 1, (3 dc, ch 2, 3 dc) in the next corner sp; repeat from * twice more. Ch 1, 3 dc in last side sp, ch 1, sl st to the top of the beginning ch-3. (36 sts, 4 corner spaces)
- Rnd 4: Continue the pattern of placing (3 dc, ch 2, 3 dc) in each corner and 3 dc in every side space. Separate each cluster with a ch-1. (48 sts, 4 corner spaces)
Finishing
Once you reach the desired size, fasten off leaving a 6-inch tail. Pull the tail through the final loop to secure. Use a tapestry needle to weave the yarn end through the back loops of the stitches on the reverse side of the square to hide it cleanly.
Care & Washing Instructions
- Hand wash in cool water using a gentle detergent specifically formulated for knit and crochet items.
- Lay the square flat on a clean towel to air dry, reshaping it with your hands while damp to maintain square corners.
- Avoid using high-heat settings in a dryer, as this can shrink synthetic fibers or felt natural wool fibers.
Pro Tips & Common Mistakes to Avoid
Check your tension regularly; if your square begins to ripple, your hook is likely too small or your stitches are too tight. Always place a stitch marker in the ch-2 corner space of the first round, as this helps you easily identify where to work your corner clusters in subsequent rounds. To weave in ends invisibly, feed the yarn tail back and forth under the stitches of the same color, changing direction twice to ensure the yarn does not pull out over time. If you need to resize, remember that adding more rounds increases the yardage requirement exponentially; for every round added, you will need approximately 15% more yarn than the previous round.
Frequently Asked Questions
Can I substitute a different yarn weight for this pattern?
Yes, you can use any yarn weight as long as you pair it with an appropriately sized hook. A lighter yarn will result in a delicate, smaller square, while a thicker yarn will produce a dense, larger square.
Is this project suitable for a complete beginner?
This is a classic starter project because it only uses double crochet stitches and chains. If you are comfortable holding your yarn and hook, you can finish this square in a single sitting.
How do I join these squares together into a larger blanket?
You can join squares using a whip stitch, mattress stitch, or a continuous join-as-you-go method using a single crochet seam for a decorative ridge.
Am I allowed to sell items made from this pattern?
Standard practice allows for the sale of finished handmade goods from this pattern. However, you should always credit the designer and use your own photographs to represent your specific work.
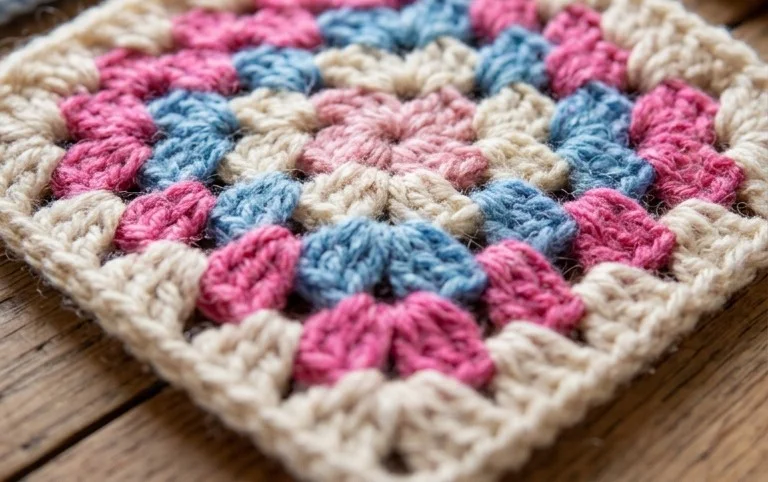
A finished square feels solid and neat, ready to join its neighbors in a larger blanket or a tote bag. You might try alternating your colors every two rows to create a bold, striped effect or switch to a natural wool blend for a softer drape. Post a photo of your completed stack online to share your color choices with other makers. Head over to the main blog archive to browse more free patterns for your next yarn project and keep your hook moving.