How to Crochet a Perfect Amigurumi Ball: Easy Free Pattern
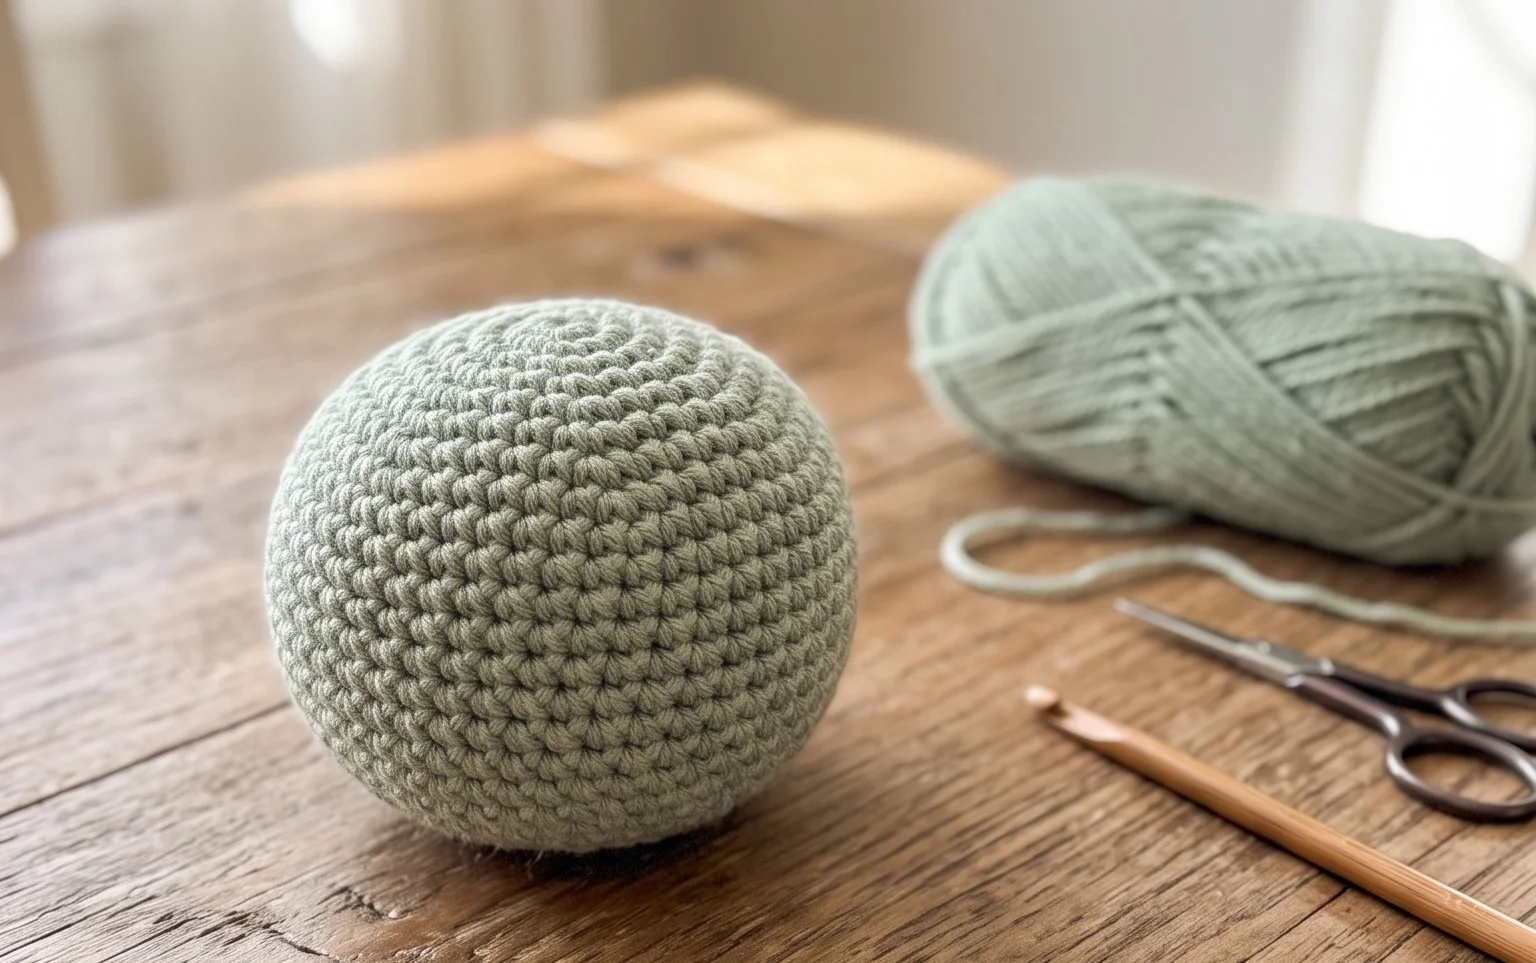
A handmade sphere feels solid and firm in your palm, sitting neatly on a shelf as a minimalist ornament or tucked into a toddler’s toy basket. This simple shape serves as the foundation for countless creatures and dolls, making it a functional starting point for any maker. You will learn to manage the math behind the increases and decreases that turn a flat circle into a three-dimensional object without awkward corners. This project suits someone with limited time because you can finish the entire process in one quiet evening while catching up on your favorite podcast.
Why This Project Is Worth Making
This beginner-friendly project is a quick, rewarding make that helps you master the magic ring and consistent tension in the round. Because it requires very little yarn, it is a perfect solution for using up those small, leftover balls of worsted weight wool or cotton hiding in your stash. The resulting item is lightweight, soft to the touch, and creates a dense fabric that holds its shape beautifully over time. Once you complete one, you will find the rhythm of the stitches makes it an ideal portable project for travel or relaxing in the evening.
I finished this pattern in a single afternoon and the instructions were clear enough that I did not have to stop to look up any techniques. It is the perfect size for a quick gift that still feels handmade and special.
— Sarah, beginner crocheter
Pattern Overview & Skill Level
- Skill Level: Beginner
- Approximate Time: 1.5 to 2 hours
- Construction: Amigurumi style, worked in continuous rounds without joining at the end of each round.
- Finished Dimensions: Approximately 3 inches tall and 3 inches wide.
Materials & Supplies Needed
- Yarn: Worsted weight (#4), 100% cotton or acrylic, approximately 30 yards.
- Hook Size: 4.0 mm (US G-6).
- Notions: Yarn needle for weaving ends, stitch marker, fiberfill stuffing.
- Yarn Substitutions: Wool provides more grip and warmth but may felt if washed in hot water. Acrylic is durable and machine washable. Cotton holds a crisp shape but has less stretch. Changing fiber type will not significantly affect size if you maintain gauge.
Stitch Guide & Abbreviations (US Terms)
- MR: Magic Ring. A technique to start rounds by crocheting into an adjustable loop.
- ch: Chain.
- sc: Single crochet. Insert hook, yarn over, pull up a loop, yarn over, pull through two loops.
- inc: Increase. Work 2 sc into the same stitch.
- dec: Decrease. Use the invisible decrease method: insert hook into the front loop of the next two stitches, yarn over and pull through both front loops, yarn over and pull through two loops on hook.
- st(s): Stitch(es).
- sl st: Slip stitch.
- BLO: Back loop only. Work only under the rear strand of the stitch.
Step-by-Step Pattern Instructions
Body
- Rnd 1: Start 6 sc in a MR (6 sts).
- Rnd 2: 2 sc in each st around (12 sts).
- Rnd 3: [1 sc, inc] 6 times (18 sts).
- Rnd 4: [2 sc, inc] 6 times (24 sts).
- Rnd 5: Work in BLO, sc in each st around (24 sts).
- Rnd 6-9: Sc in each st around (24 sts).
- Rnd 10: [2 sc, dec] 6 times (18 sts).
- Rnd 11: [1 sc, dec] 6 times (12 sts).
Assembly
Stuff the body firmly with fiberfill once you reach the end of Round 11. To close the opening, work 6 consecutive dec stitches. Fasten off your yarn, leaving a 6-inch tail. Thread the tail onto your yarn needle and weave it through the front loops of the final 6 stitches. Pull the tail tight to close the hole completely, then bury the remaining yarn inside the body to finish.
Care & Washing Instructions
- Hand wash in cool water using a mild wool-safe detergent.
- Avoid wringing or twisting the item; gently press between two towels to remove excess moisture.
- Lay flat on a dry towel in a shaded area to air dry completely.
Pro Tips & Common Mistakes to Avoid
- Tension: Keep your tension tight to prevent gaps between stitches where the stuffing might show through. If your stitches look loose, try dropping down to a 3.5 mm hook.
- Stitch counting: Always place a stitch marker in the first stitch of every round. Moving it up as you go prevents you from losing your place in the continuous spiral.
- Weaving ends: For an invisible finish, weave the tail through the internal structure of the piece rather than across the surface. This keeps the exterior texture clean.
- Adjusting size: You can make the item larger by adding more increase rounds, such as [3 sc, inc] in Rnd 5, but note that this will require approximately 20% more yarn per round added.
Frequently Asked Questions
Can I use a larger hook for this pattern?
Using a larger hook will result in a larger, looser finished item with more visible gaps between stitches. It is best to stick to the recommended 4.0 mm hook for a dense, professional finish.
Is this project suitable for complete beginners?
Yes. This pattern utilizes only the basic single crochet stitch and standard increase and decrease techniques, making it an ideal first project for those new to working in the round.
Can I sell the items I make from this pattern?
You are welcome to sell finished items you create using this design. Please provide credit to the designer and use your own original photographs for your listings.
How do I keep the magic ring from coming undone?
After completing the first round, pull the tail end of your magic ring firmly to tighten the center. Secure the tail by weaving it back and forth through the base stitches on the inside of the piece before cutting the excess.
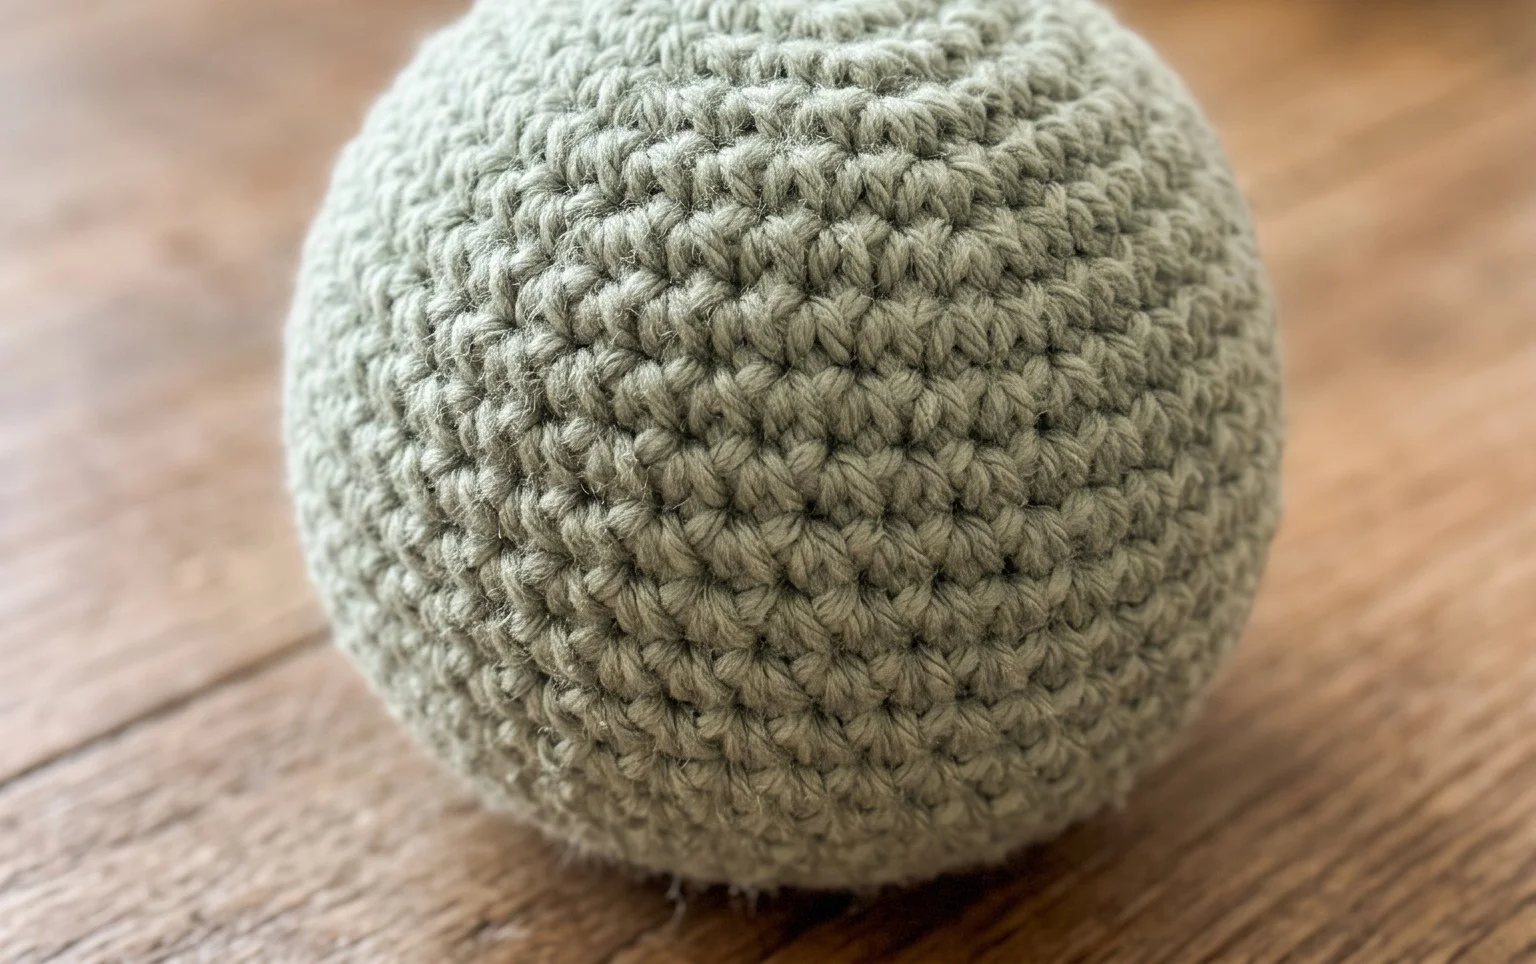
Your finished sphere has a smooth, uniform surface that shows off your stitch tension and keeps your hands busy during quiet moments. Try holding two strands of yarn together for a jumbo size or switch to a thin thread for a tiny version that fits inside a jewelry box. If you share a picture of your project on social media, remember to tag me so I can see your color choices. Come back to the blog whenever you need another quick weekend project to keep your hands moving.