Easy Snowman Garland Free Crochet Pattern: Step-by-Step
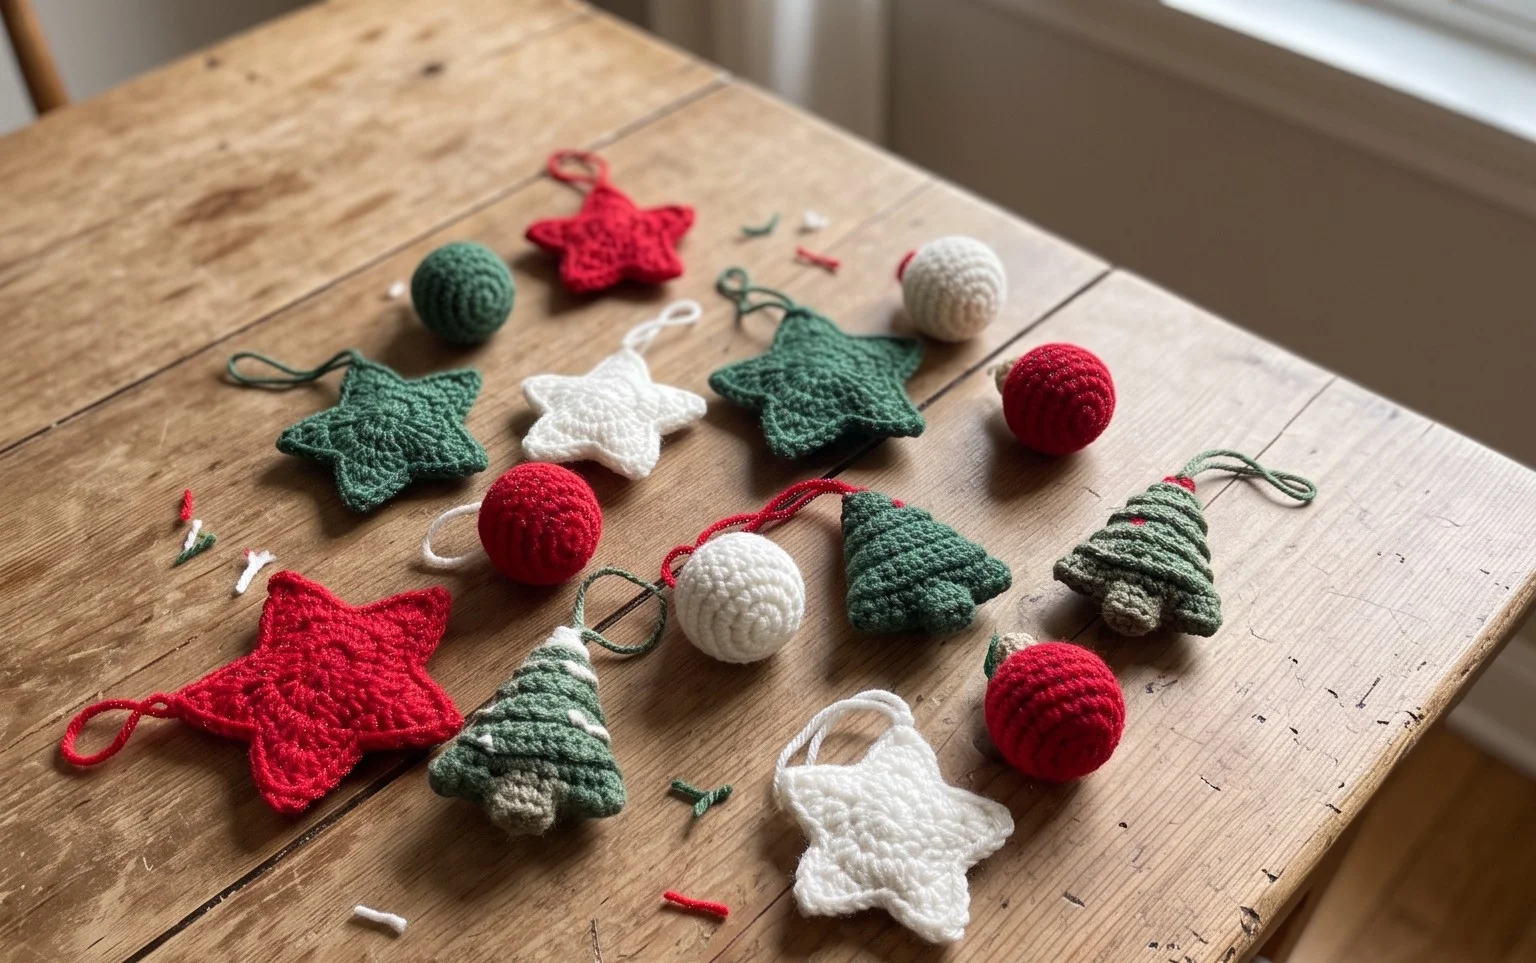
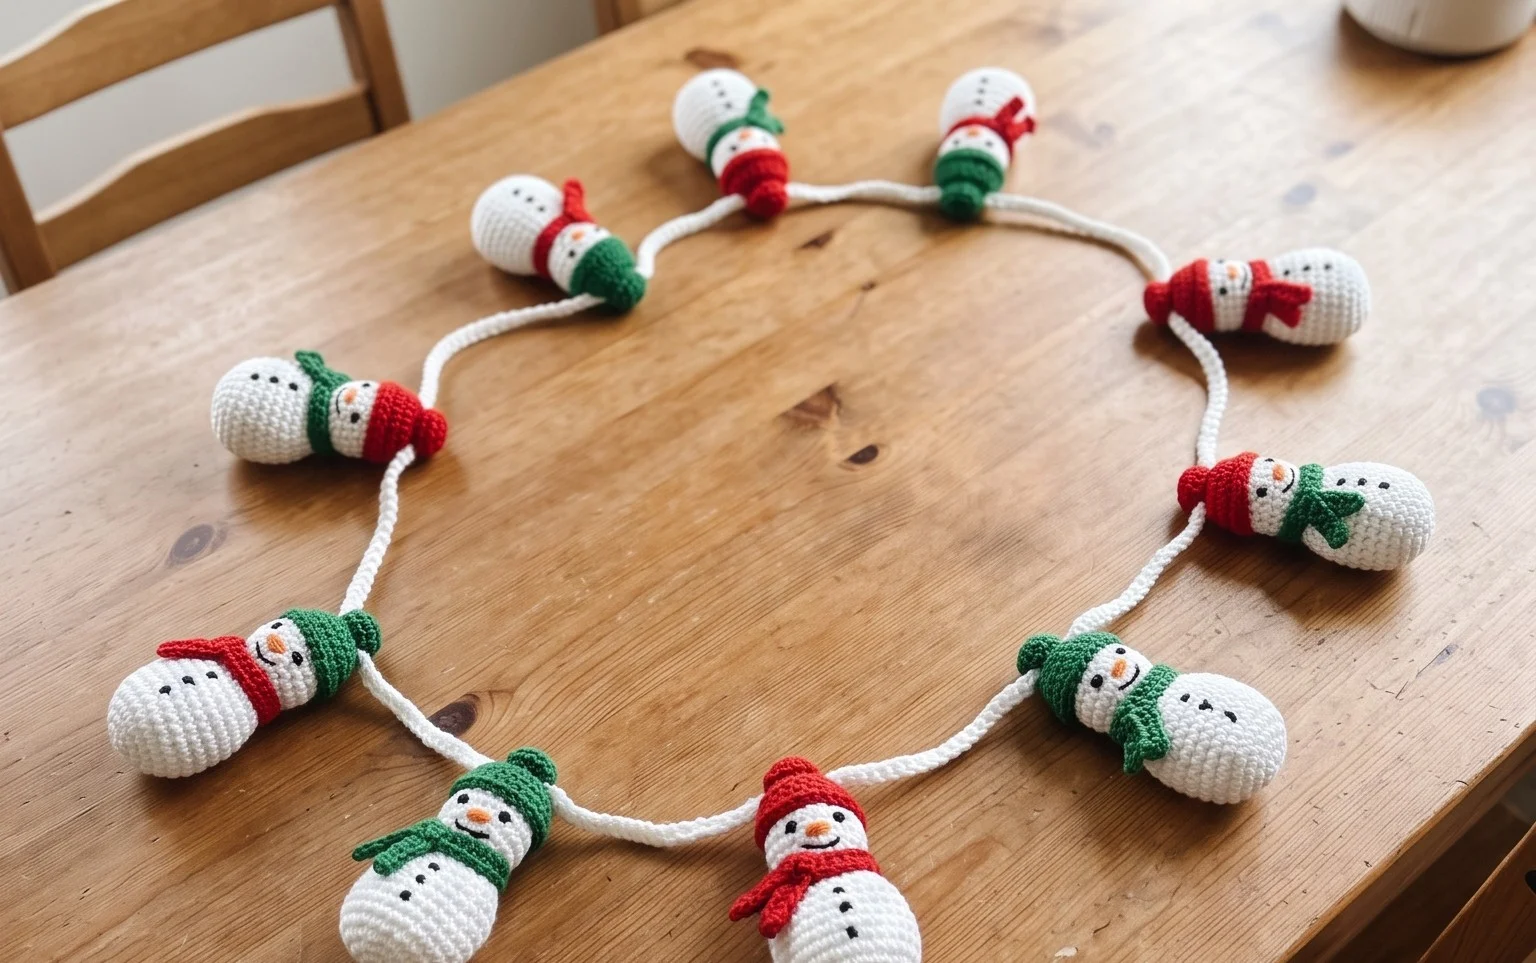
Bright white yarn makes these little spheres feel like fresh winter snow sitting on your mantelpiece or draped across a bookshelf. Making this project is a gentle way to spend a chilly afternoon, especially if you have a pile of scrap yarn waiting for a purpose. Each snowman has a distinct personality once you add the carrot nose and coal-like eyes. You will master the rhythm of increasing and decreasing stitches to create a smooth, rounded shape that holds its form firmly. This project brings a bit of handmade charm to your home during the cold season and works up quickly.
Why You’ll Love This Pattern
This crochet sphere pattern uses the classic magic ring and continuous round method, making it an ideal entry point for anyone interested in amigurumi. The simple increase and decrease sequence creates a perfectly symmetrical shape that sits flat or rolls as needed, providing a reliable foundation for more complex stuffed projects. Because it relies on basic single crochet stitches, you can complete a sphere in under an hour, making it a quick way to use up small amounts of leftover yarn. The resulting fabric is tight enough to prevent fiberfill from poking through, ensuring a professional finish even for beginners.
I finally learned how to keep my rounds even with this guide, and the spheres came out perfectly round for my daughter’s toy project.
— Sarah, amigurumi enthusiast
Pattern Overview & Skill Level
- Skill Level: Beginner
- Approximate Time: 45 minutes
- Construction: Continuous rounds using a magic ring, increasing to a maximum diameter, and then decreasing to close.
- Finished Dimensions: Approximately 3 inches in diameter using worsted weight yarn.
Materials & Supplies Needed
- Yarn: Worsted weight (#4), acrylic or cotton blend, approximately 20-30 yards.
- Hook Size: 4.0 mm (G-6).
- Notions: Tapestry needle, stitch marker, fiberfill stuffing, scissors.
- Yarn Substitutions: You may use DK weight (#3) yarn with a 3.5 mm hook for a smaller, tighter sphere. Using a larger hook or bulkier yarn will result in a larger, looser sphere that may require more stuffing to maintain its shape.
Stitch Guide & Abbreviations (US Terms)
- MR: Magic ring
- ch: Chain
- sc: Single crochet
- inc: Increase (work 2 sc into the same stitch)
- dec: Decrease (sc2tog, invisible decrease preferred by inserting hook into the front loops only of the next 2 stitches, yarn over, pull through, yarn over, pull through all loops)
- sl st: Slip stitch
- st(s): Stitch(es)
Step-by-Step Pattern Instructions
Sphere Body
Work in a continuous spiral. Place a stitch marker in the first stitch of every round to track your progress.
- Rnd 1: MR, 6 sc in ring. (6 sts)
- Rnd 2: Inc in each st around. (12 sts)
- Rnd 3: (1 sc, inc) repeat 6 times. (18 sts)
- Rnd 4: (2 sc, inc) repeat 6 times. (24 sts)
- Rnd 5: (3 sc, inc) repeat 6 times. (30 sts)
- Rnd 6-10: Sc in each st around. (30 sts)
- Rnd 11: (3 sc, dec) repeat 6 times. (24 sts)
- Rnd 12: (2 sc, dec) repeat 6 times. (18 sts)
- Rnd 13: (1 sc, dec) repeat 6 times. (12 sts)
- Rnd 14: Dec 6 times. (6 sts)
Finishing
Cut the yarn, leaving a 6-inch tail. Pull the tail through the final loop. Use the tapestry needle to weave the yarn through the front loops of the remaining 6 stitches and pull tight to close the hole securely. Knot the yarn and pull the end back inside the sphere to hide the tail.
Care & Washing Instructions
- Hand wash in cool water with a mild detergent to maintain the shape of the stuffing.
- Gently squeeze out excess water, then lay flat on a towel in a shaded area to air dry completely.
- If the sphere loses its shape after drying, roll it firmly between your palms to redistribute the fiberfill.
Pro Tips & Common Mistakes to Avoid
- Maintain a consistent, firm tension to ensure the stuffing does not show through the gaps between stitches.
- Always move your stitch marker up to the first stitch of every new round to avoid losing your place.
- When weaving in ends, run the needle through the interior of the sphere in multiple directions to lock the yarn in place without creating a bulky knot on the surface.
- You can adjust the size by increasing the number of rounds for the middle section (Rnds 6-10), but remember that this will require more yarn and potentially more stuffing to keep the sphere firm.
Frequently Asked Questions
Can I use cotton yarn for this project?
Yes, cotton yarn works well and provides a very defined stitch appearance, though it is slightly less stretchy than acrylic and may require a bit more effort to pull the stitches tight.
Why are there gaps in my sphere?
Gaps usually occur when the hook size is too large for the yarn weight. Try switching to a hook that is one size smaller to tighten the fabric.
How do I know how much fiberfill to use?
Stuff the sphere until it feels firm to the touch and holds its shape, but ensure you do not overstuff it so much that the stitches stretch and show the filling inside.
Am I allowed to sell items made from this pattern?
You are welcome to sell finished items made from this pattern, provided you credit the original design. Please check the specific terms of the designer if this pattern was sourced from a third party.
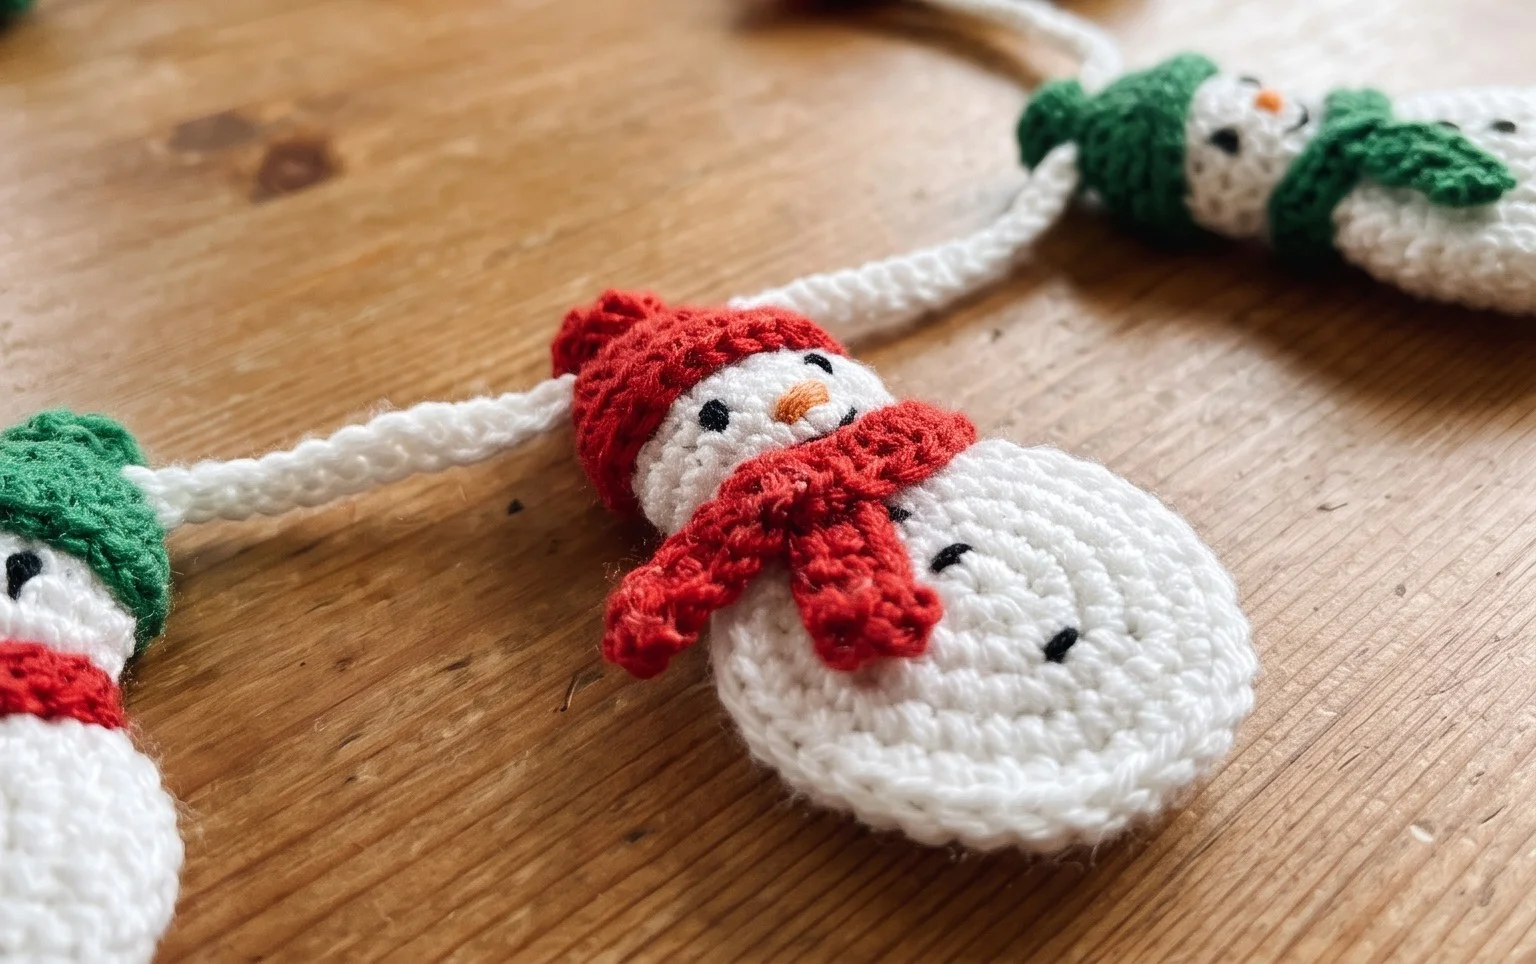
Your finished winter garland brings a cozy and personal touch to your holiday decorations that store-bought items cannot match. Try using a variegated red and green yarn for the scarf detail if you want a more festive look, or make larger snowmen by switching to a chunky weight cotton yarn. Please tag your photos on social media so we can see how your string of snowmen looks in your living room. Feel free to browse our archives for more free patterns to keep your hands busy all winter.