Easy Beginner Crochet Project: Free Pattern & Materials
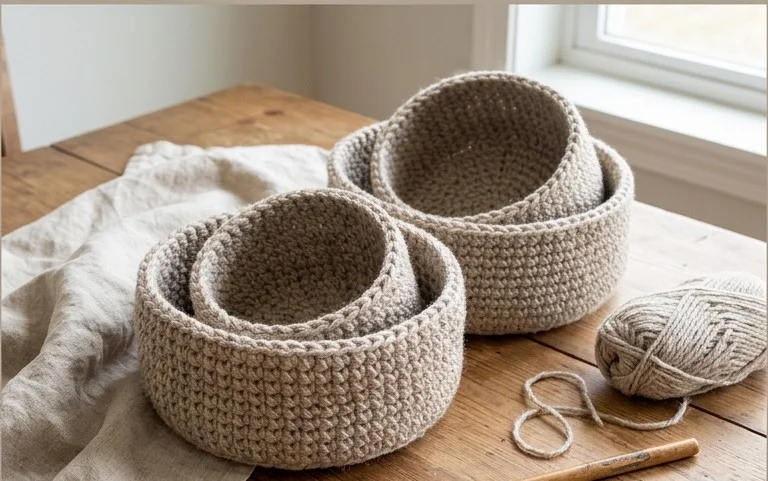
This dense, squishy little container sits perfectly on a desk or bedside table, holding small items like rings, coins, or paperclips. Its structured sides come from tight single crochet stitches, which give the fabric a firm feel that holds its shape without needing extra support. Beginners will enjoy how quickly the magic ring base builds momentum, while experienced makers appreciate a relaxing project that finishes in a single afternoon. You will gain confidence in working continuous rounds here, learning how to create a flat, seamless circular foundation that creates a polished look for all your future rounded decor pieces.
Why Crocheters Love It
This beginner-friendly project creates a structured, squishy fabric that is perfect for those new to working in the round. It relies on basic single crochet stitches, making it a meditative project that is easy to pick up and put down. Because the pattern uses a small amount of worsted weight yarn, it is an excellent way to use up leftover yarn from larger stash bins. The finished result is a versatile accessory that maintains its shape well over time, making it a thoughtful handmade gift.
I finally finished this project over the weekend. The instructions were very easy to follow and the final shape looks exactly like the photos provided.
— Sarah, hobbyist crocheter
Pattern Overview & Skill Level
- Skill Level: Beginner
- Approximate Time: 2 to 3 hours
- Construction: Working in continuous rounds using a magic ring for a seamless base
- Finished Dimensions & Sizing: 4 inches in diameter and 3 inches in height
Materials & Supplies Needed
- Yarn: Worsted weight (#4) cotton or acrylic blend, approximately 50 yards
- Hook Size: 5.0 mm (H-8)
- Notions: Tapestry needle for weaving in ends, a locking stitch marker to keep track of rounds, and a small amount of polyester fiberfill stuffing
- Safe yarn substitutions: You may use wool or bamboo blends. Wool provides more elasticity and warmth, while bamboo creates a softer, heavier drape. Be aware that different fibers may slightly alter the tension and final dimensions of the project.
Stitch Guide & Abbreviations (US Terms)
- MR = Magic Ring
- ch = chain
- sc = single crochet
- inc = increase (work 2 sc in the same stitch)
- dec = decrease (sc2tog by inserting hook through front loops of next 2 stitches, yarn over, pull through, yarn over, pull through both loops on hook)
- st(s) = stitch(es)
- sl st = slip stitch
Step-by-Step Pattern Instructions
Main Body
Work in continuous spirals without joining rounds unless otherwise noted. Use a stitch marker to mark the first stitch of every round.
- Rnd 1: Start 6 sc in a MR (6 sts)
- Rnd 2: Inc in each st around (12 sts)
- Rnd 3: [Inc, 1 sc] repeat 6 times (18 sts)
- Rnd 4: [Inc, 2 sc] repeat 6 times (24 sts)
- Rnd 5: [Inc, 3 sc] repeat 6 times (30 sts)
- Rnd 6: Working in back loops only, 1 sc in each st around (30 sts)
- Rnd 7-12: 1 sc in each st around (30 sts)
- Rnd 13: [Dec, 3 sc] repeat 6 times (24 sts)
- Rnd 14: [Dec, 2 sc] repeat 6 times (18 sts). Stuff the item firmly at this point.
- Rnd 15: [Dec, 1 sc] repeat 6 times (12 sts)
- Rnd 16: Dec 6 times (6 sts)
Finishing
Cut the yarn leaving a 6-inch tail. Use the tapestry needle to weave the tail through the front loops of the remaining 6 stitches. Pull tight to close the hole securely and weave the end into the center of the piece to hide the tail.
Care & Washing Instructions
- Hand wash in cool water using a mild wool-safe detergent to preserve fiber integrity.
- Do not wring or twist the item; gently press between two towels to remove excess water.
- Reshape while damp and lay flat on a clean surface away from direct sunlight to dry completely.
Pro Tips & Common Mistakes to Avoid
- Maintain consistent tension throughout the project to ensure the stitches remain tight and the stuffing does not show through the gaps.
- Always place a stitch marker in the first stitch of every round. This simple habit prevents you from losing your place and keeps the stitch counts accurate.
- When weaving in your yarn ends, run the needle through the center of the stitches on the inside of the piece to keep the exterior surface smooth and professional.
- If you wish to increase the size of the project, you can add more increase rounds, but remember that each additional round will require significantly more yarn and will change the final shape proportionally.
Frequently Asked Questions
Can I use a different yarn weight for this pattern?
Yes, you can use a different yarn weight, but the hook size must be adjusted accordingly. If you use a thinner yarn, use a smaller hook to prevent holes in your work. A thicker yarn will require a larger hook and will result in a larger finished item.
Is this pattern suitable for someone who has never crocheted before?
Yes, this pattern uses only the single crochet stitch and simple increase and decrease techniques, which are the fundamental building blocks of most crochet projects.
Can I sell the items I make from this pattern?
You are welcome to sell finished items created from this pattern, provided you credit the design. Please do not sell, distribute, or copy the actual pattern text or images.
How do I know if I am stuffing the item enough?
The item should feel firm but should not be stretched to the point where the stitches pull apart. If you see gaps appearing between stitches, remove a small amount of stuffing until the fabric looks uniform.
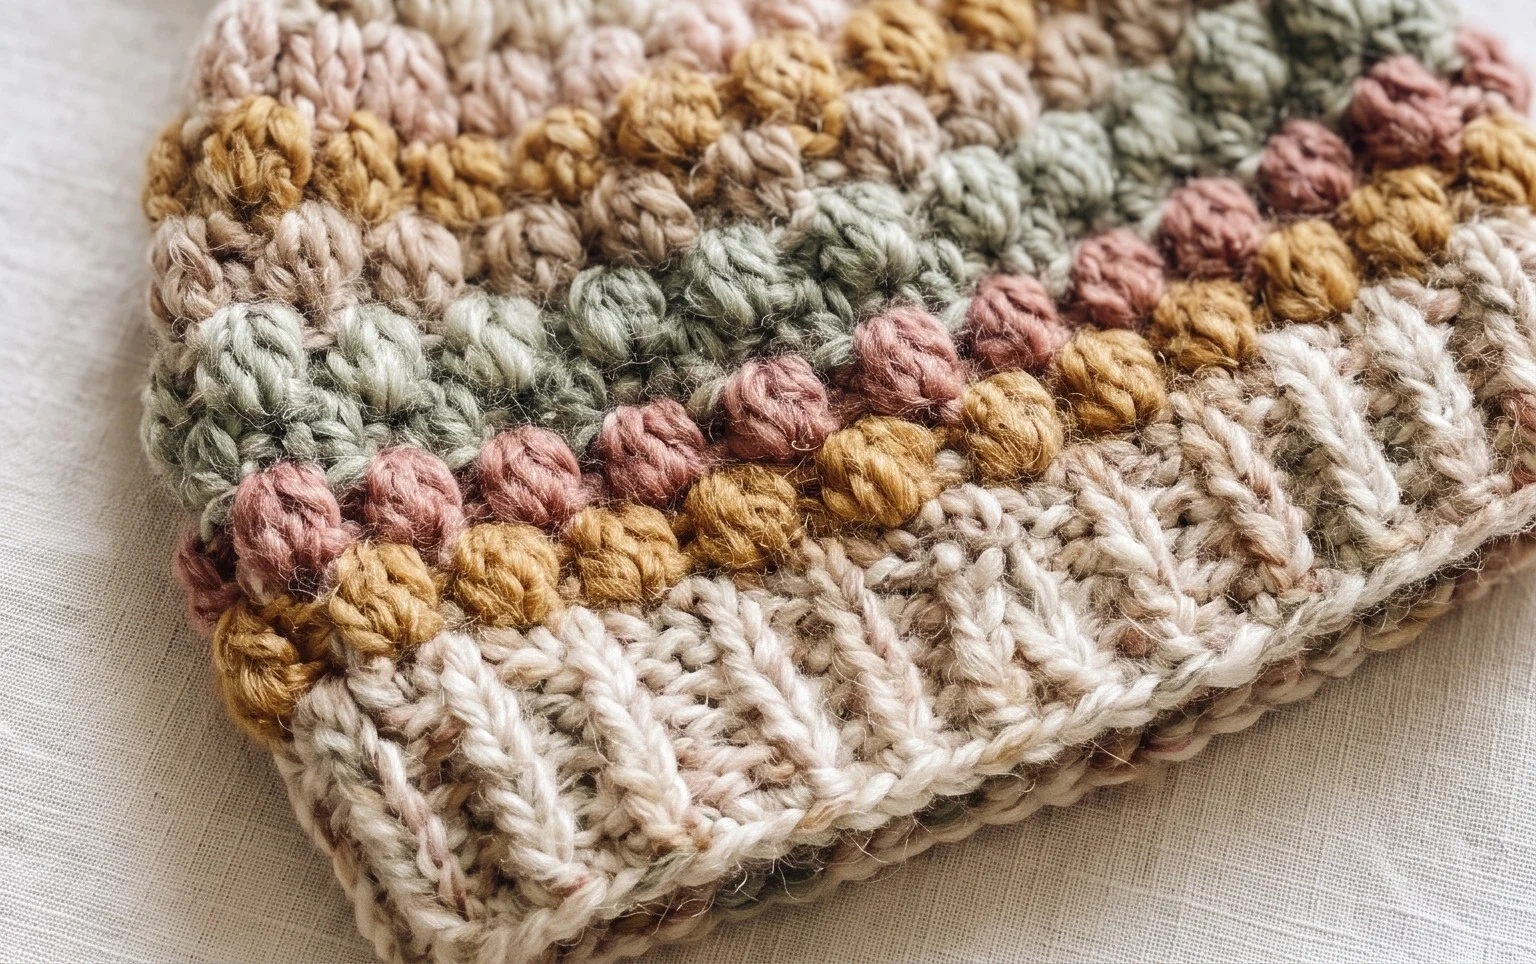
Your new crochet container adds a handy, textured spot for trinkets right where you need it most. You might consider using a variegated yarn for a playful striped effect or scaling up your hook size to create a larger basket for storing balls of yarn. Sharing a photo of your finished work helps others see how different fiber choices affect the final tension. Please browse the rest of our pattern library for more quick projects that help clear out your scrap yarn bins and sharpen your basic technical skills.