Into The Woods Cowl: Easy Beginner Crochet Pattern
This cowl feels like wrapping a soft, chunky blanket around your neck during the first cold snap of autumn. It features a deep, squishy texture that stands up to biting wind while remaining flexible enough to tuck into a heavy winter coat. You will rely on the half-double crochet stitch worked exclusively in the back loops, a method that builds a thick fabric without the bulk often found in other designs. Whether you are stitching a gift for a loved one or refreshing your own seasonal wardrobe, this pattern provides a reliable rhythm that settles into your hands after just a few rows. You will master the construction of a simple rectangle that transforms into a cozy garment with basic seaming, offering you a finished accessory that looks polished, intentional, and warm enough for long walks in the woods.
Why You’ll Love This Pattern
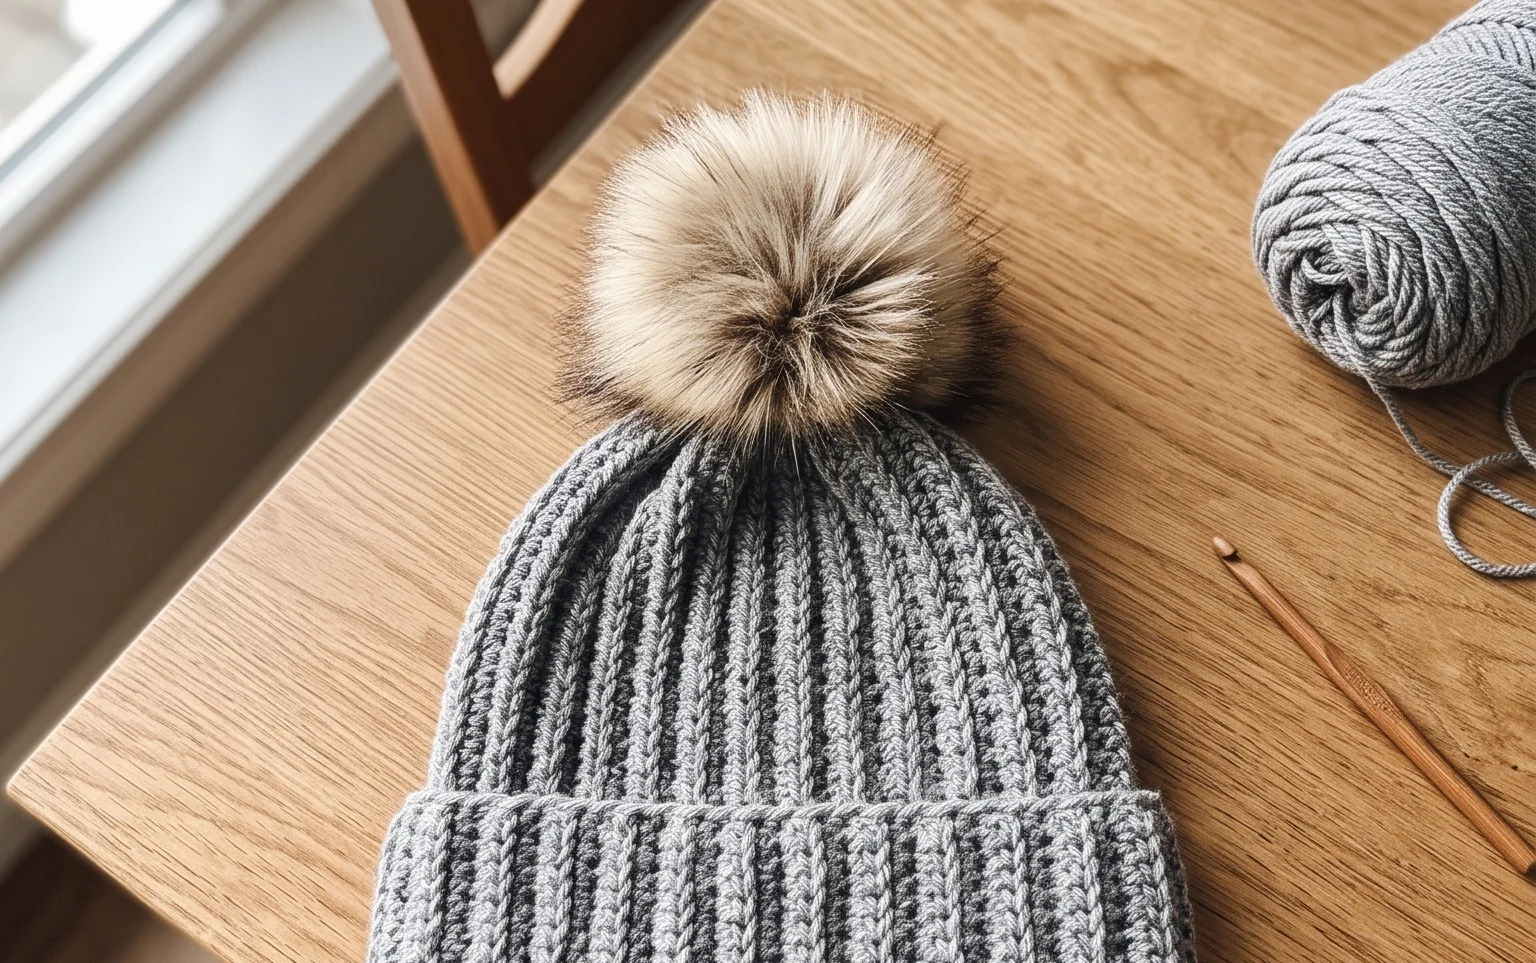
This crochet ribbed beanie is a staple project for any fiber artist because it relies on a simple, rhythmic repetition of stitches that creates a professional, store-bought look. You will enjoy how the half-double crochet stitch in the back loop creates a stretchy, knitted-look fabric that hugs the head comfortably without feeling too tight. It is a quick project, usually taking only a few hours to complete, making it ideal for last-minute gifts or stocking your market inventory. The pattern uses a rectangular construction worked in rows, which eliminates the need for complex increases or decreases, allowing you to focus entirely on your tension and stitch consistency.
I managed to finish this entire beanie in one rainy afternoon. The texture is incredibly squishy and it fits my head perfectly without stretching out over time.
— Sarah, hobbyist crocheter
Pattern Overview & Skill Level
- Skill Level: Beginner
- Approximate Time: 3 to 4 hours
- Construction: Flat rectangular panel joined at the seam with a gathered crown
- Finished Dimensions & Sizing: 20 inches circumference, fits most adult heads
Materials & Supplies Needed
- Yarn: Worsted weight (#4), wool or acrylic blend, approximately 200 yards. Solid colors show off the ribbed texture best.
- Hook Size: 5.5 mm (US I-9) to create a slightly looser, draping fabric.
- Notions: Tapestry needle for weaving ends, scissors, and a measuring tape.
- Safe yarn substitutions: You can use a cotton blend for a summer beanie, but note that cotton has less stretch than wool and may result in a stiffer garment.
Stitch Guide & Abbreviations (US Terms)
- ch = chain
- hdc = half double crochet
- BLO = back loop only (insert hook under only the back loop of the stitch)
- sl st = slip stitch
- st/sts = stitch/stitches
- yo = yarn over
Step-by-Step Pattern Instructions
Main Body
The beanie is worked sideways as a flat rectangle, then seamed to form the tube.
- Row 1: Ch 41. Hdc in the second ch from hook and in each ch across. Turn. (40 sts)
- Row 2: Ch 1, hdc in BLO of each st across. Turn. (40 sts)
- Rows 3-60: Repeat Row 2 until the rectangle measures approximately 20 inches or comfortably wraps around the wearer’s head. Do not fasten off.
Assembly and Finishing
- Seaming: Fold the rectangle in half, matching the short ends. Sl st through the BLO of the last row and the foundation chain across the edge to join the tube.
- Closing the Crown: Fasten off, leaving a 12-inch yarn tail. Thread the tail onto your tapestry needle. Weave the needle through the stitches along one edge of the tube. Pull the tail tight to cinch the hole closed. Secure the yarn with a few tight knots on the inside of the hat.
- Weaving Ends: Turn the hat right side out and weave in any remaining yarn tails securely into the ribbing to ensure they do not come loose during wear.
Care & Washing Instructions
- Hand wash in cool water using a mild wool-safe detergent to maintain the elasticity of the stitches.
- Gently squeeze out excess water with a towel, taking care not to wring or twist the fabric.
- Lay the beanie flat on a dry towel to air dry, reshaping it into its circular form while damp.
Pro Tips & Common Mistakes to Avoid
Maintain consistent tension throughout your rows, especially when working in the BLO, as any change in tightness will result in an uneven finished edge. Use a stitch marker at the start of each row to help you track your row count, which ensures the hat ends up being the correct circumference. Weave your ends in diagonally across the ribbing to help them blend into the stitches, making the join invisible. If you decide to adjust the size, add or remove chains in sets of two; adding chains will increase the height of the beanie, while adding more rows will increase the circumference.
Frequently Asked Questions
Can I use a larger hook for this pattern?
Yes, using a larger hook will result in a softer, more open fabric with more drape. However, note that your finished hat will be larger and may require more yarn to reach the same circumference.
Is this pattern suitable for someone who has never crocheted before?
This is a great beginner project because it only uses one basic stitch. You will practice maintaining even tension, which is the most important skill for a beginner to develop.
How do I know if the hat will fit correctly?
Wrap your finished piece around your head before seaming. It should feel snug, as the ribbing will naturally stretch to fit comfortably without slipping off.
Can I sell the hats I make from this pattern?
You are welcome to sell finished items created from this pattern. Please credit the design to this tutorial when listing your products online or at craft markets.
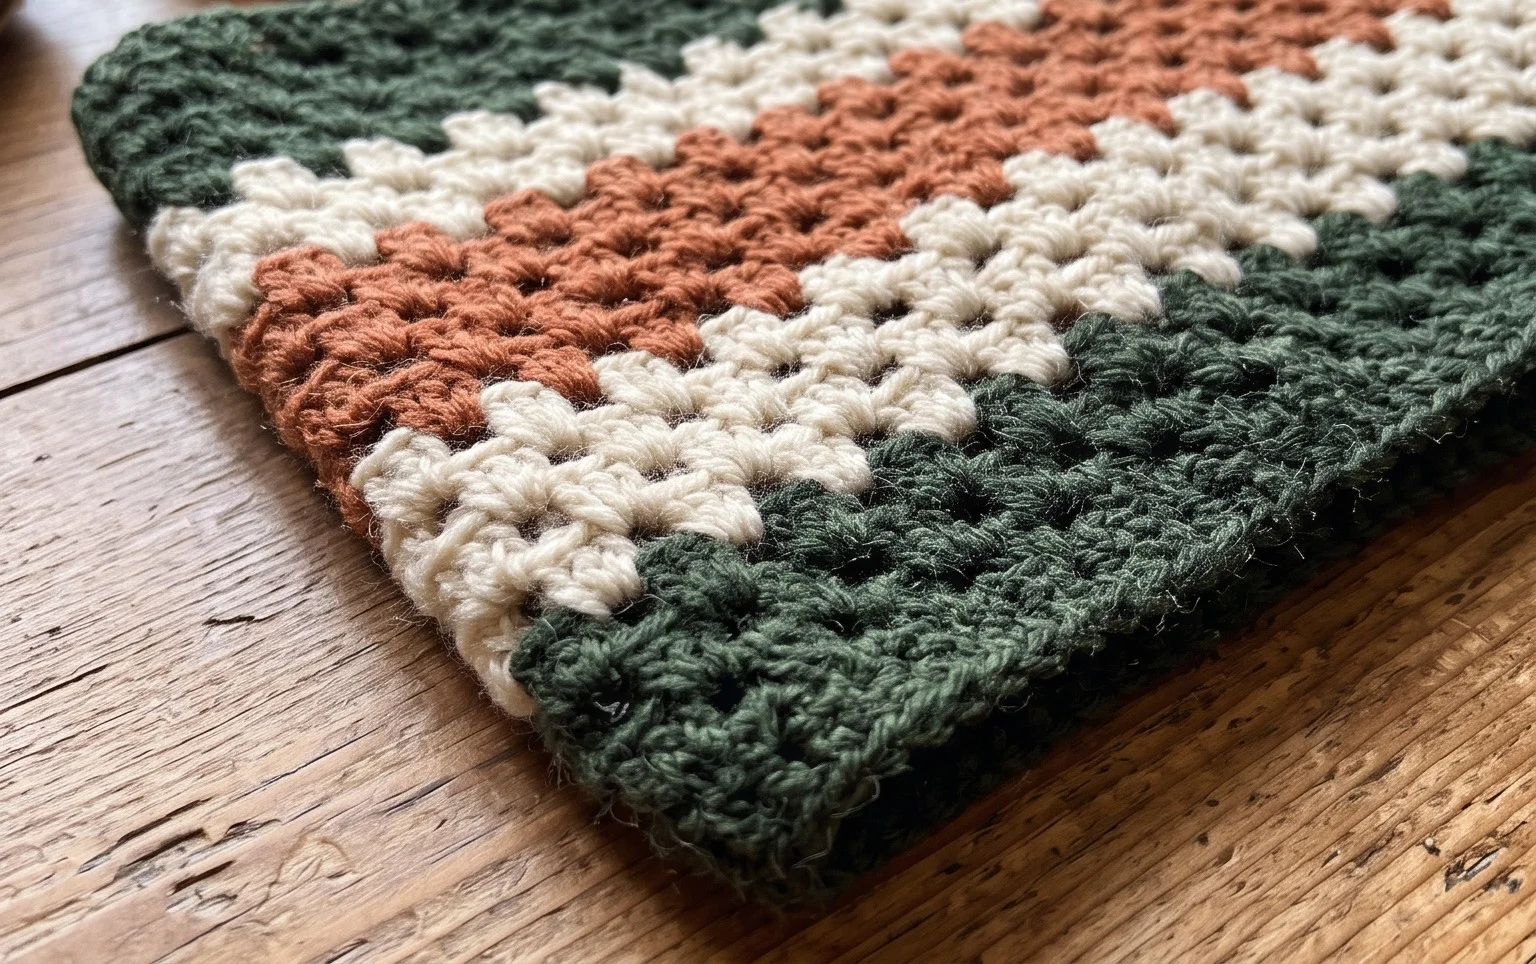
Your new cowl provides the warmth you need for crisp mornings, and you will notice how the fabric drapes comfortably against your skin. Try holding two strands of lace-weight mohair together instead of worsted yarn to create a halo effect that adds a touch of luxury. Snap a photo of your progress and post it online to show off your custom color choices. You can find more free projects and stitch tutorials by browsing the full archive on my blog for your next afternoon project.